Wyoming Apple Cinnamon Grilled Dessert Wraps
Ces enveloppements de desserts grillés à la cannelle aux pommes du Wyoming sont sucrés, croustillants et parfaitement cuits sur votre gril arteflame - le confort de feu de camp au...

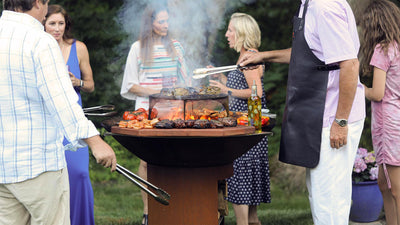
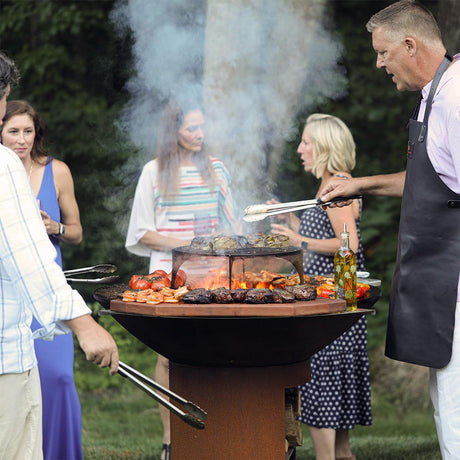
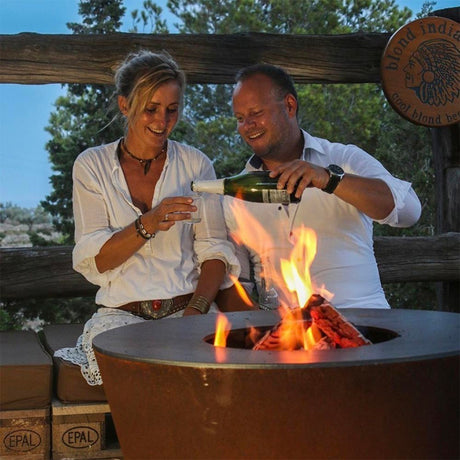
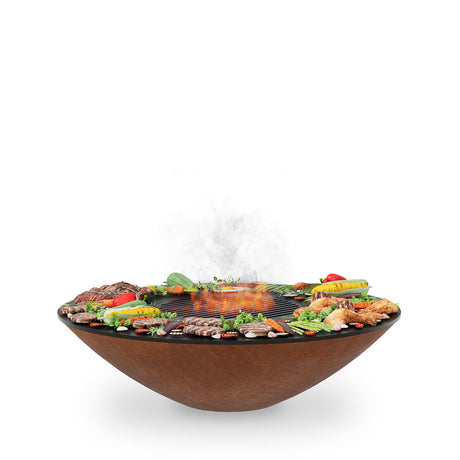
Ces ailes de poulet croustillantes, épicées et acidulées façon Buffalo sont entièrement grillées sur le gril Arteflame. Saisissez-les à feu vif, parsemez-les à la perfection sur la plaque de cuisson et nappez-les d'une sauce onctueuse et épicée pour une touche de piquant parfaite. Grâce à la méthode unique de cuisson inversée et à la polyvalence de l'Arteflame, vous obtiendrez des ailes dignes de n'importe quel bar new-yorkais, sans même avoir besoin de couvercle ni de four.
Ces ailes de poulet Buffalo grillées à l'Arteflame allient les saveurs new-yorkaises audacieuses et au grésillement incomparable de la cuisson au feu de bois. Chaque bouchée est croustillante, juteuse et épicée ; des ailes à l'aspect et au goût incroyables, sans même avoir besoin d'une poêle ou d'un four. Maîtrisez la cuisson à l'envers et vous ne pourrez plus vous en passer !
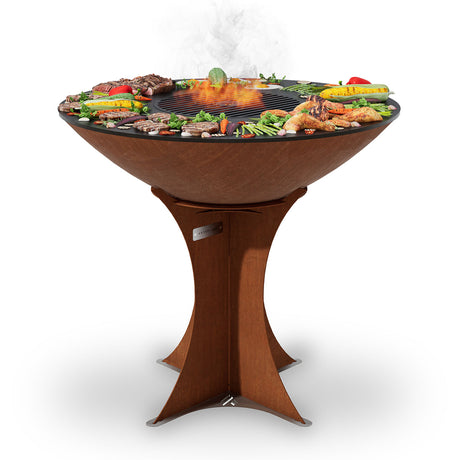


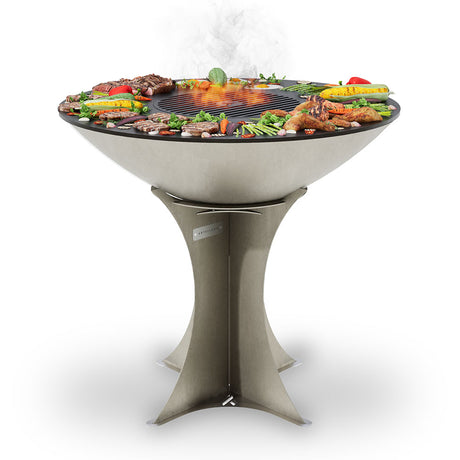
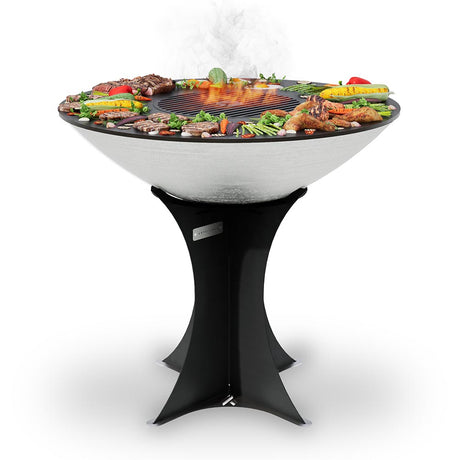
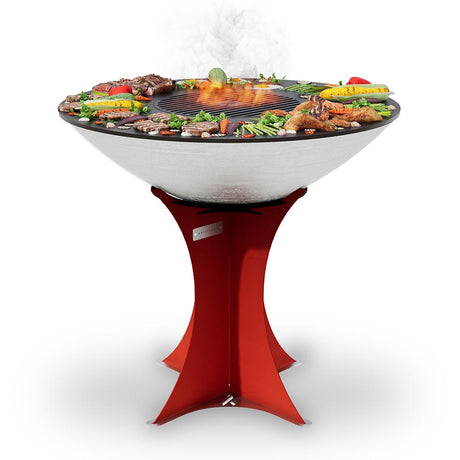
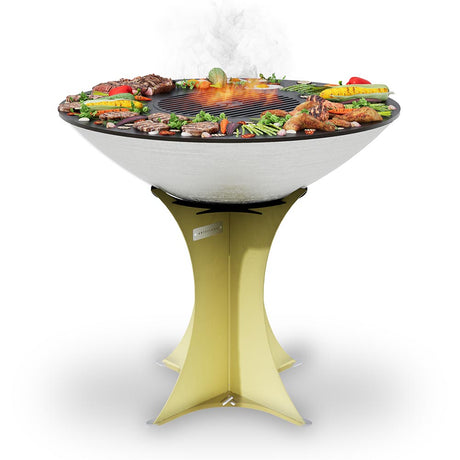


Gril à dessus plat Arteflame XXL 40" - Base européenne haute


Ces enveloppements de desserts grillés à la cannelle aux pommes du Wyoming sont sucrés, croustillants et parfaitement cuits sur votre gril arteflame - le confort de feu de camp au...
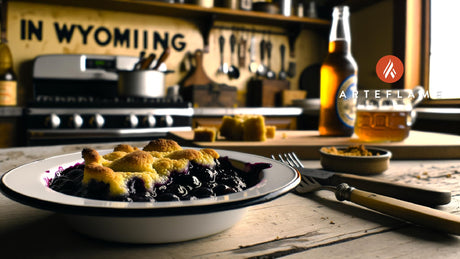
Faire griller un cordonnier de bleuet de feu de camp du Wyoming rustique sur l'arteflame. Aucun four nécessaire, juste des baies juteuses, une garniture au beurre et cette trétoue parfaite...
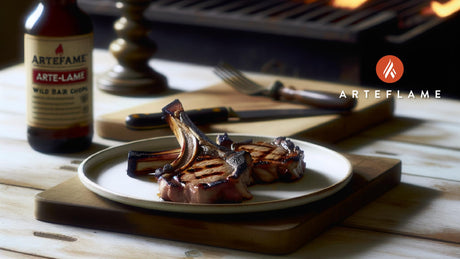
Goûtez la saveur fumée du Wyoming Boar Coster grillé à la perfection sur le grill arteflame à l'aide d'une méthode Sear inverse.
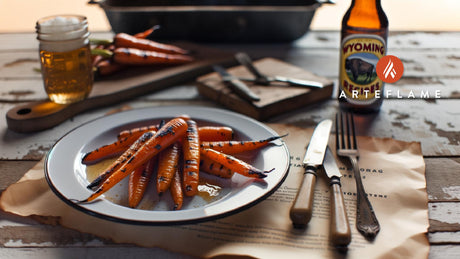
Faites du style de carottes glacé à miel grillé parfaitement tendre, en utilisant le grill arteflame pour les caraméliser magnifiquement sur la table de cuisson plate.
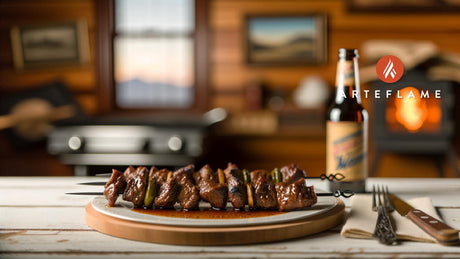
Grill Juicy Wyoming Teriyaki Bison brochettes à l'aide du gril arteflame pour une saveur audacieuse et un saisir de steakhouse sans jamais brûler votre nourriture.
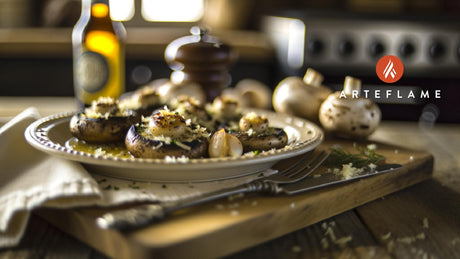
Apprenez à fabriquer des champignons de parmesan à l'ail grillés Style Wyoming sur le Grill arteflame - Savoire, ringard et perfection au beurre à chaque fois.

Saucisses de cheddar jalapeño pleine de saveur Saucisses grillées du Wyoming sur l'arteflame en utilisant la méthode de saisie inverse. Croustillant, juteux et chargé d'un goût audacieux.

Faire griller des pointes de côtes de cowboy du Wyoming Juicy avec un frottement de barbecue salé à l'aide de la méthode de revers sur votre grill arteflame - parfaitement...