Best Grilled Vegetables: Charred & Crispy Guide | Arteflame
Learn the best veggies for grilling—plus times, temps, and pro tips—optimized for Arteflame heat zones for perfect char and flavor every time.
 4.9
4.9
There is a distinct magic in transforming a humble slab of pork belly into glorious, ruby-hued Pancetta. When you slice into that finished roll, the aroma of crushed juniper, black pepper, and earthy herbs instantly transports you to a rustic Italian deli. It’s not just bacon; it’s an ingredient that adds a deep, savory soul to everything it touches, from a silky Spaghetti Carbonara to a simple pot of braised beans perfect for a chilly evening.
I love this recipe because it demystifies the art of charcuterie. While the idea of curing meat sounds intimidating, it is surprisingly hands-off and incredibly rewarding. The patience required during the drying phase pays off with a flavor profile that is cleaner, fresher, and more nuanced than anything you can buy at the supermarket. Plus, having a stash of homemade pancetta in the fridge makes you feel like a culinary wizard, ready to elevate any weeknight meal.
If you can't find juniper berries, feel free to substitute them with fennel seeds for a sweeter, more aromatic Tuscan-style finish. You can also swap the fresh garlic for granulated garlic if you are worried about moisture content during the hang.
Making pancetta at home is simple, but attention to detail is key for the best flavor and texture. Always use pink curing salt for safety, and make sure you have proper airflow during the aging stage to avoid spoilage. A dedicated curing chamber or cool cellar is ideal, but even a temperature‑controlled space works.
You can easily customize pancetta depending on your flavor preferences. Classic Italian herbs work beautifully, but adding warm spices or citrus can give your cure a unique twist. These variations let you tailor your pancetta for specific dishes like pasta, pan‑seared vegetables, or charcuterie boards.
Homemade pancetta brings rich, savory depth to countless dishes. From pasta sauces to roasted vegetables, it enhances recipes with incredible umami. For the best results, pair it with ingredients that allow its natural flavor to shine while complementing its salty, aromatic profile.
Crafting your own pancetta is a rewarding process that delivers exceptional flavor and versatility in the kitchen. With just a few simple ingredients and some curing time, you can create a high‑quality Italian staple that enhances everything from pasta to charcuterie.
Whether you’re new to curing meats or expanding your homemade pantry, this recipe offers a reliable way to produce pancetta that’s rich, fragrant, and far better than store‑bought. Enjoy your delicious homemade creation in all your favorite dishes.

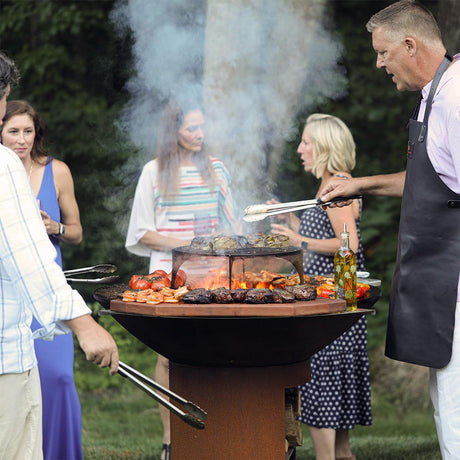
Experience the Arteflame difference — 1,000°F searing, multiple heat zones, and true wood-fired flavor in one striking grill. Cook everything at once with total temperature control and enjoy a more intentional, elevated outdoor cooking experience. Discover why an Arteflame isn’t just a grill — it transforms the way you cook.


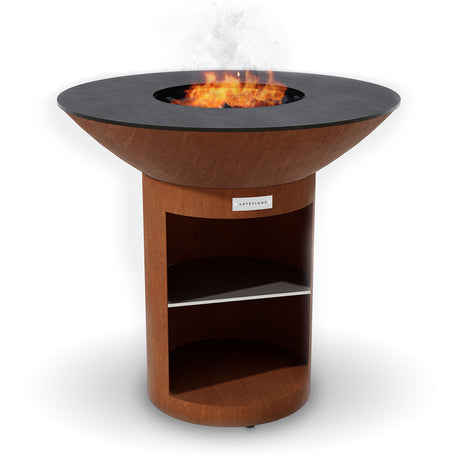
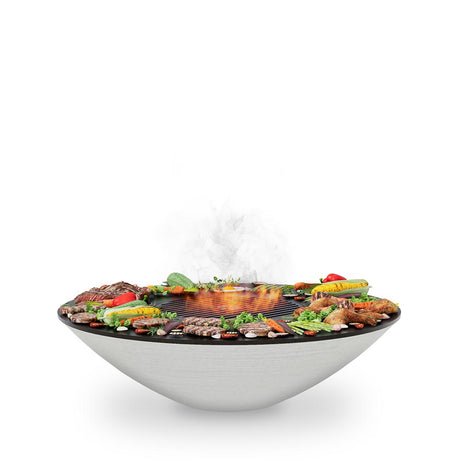
Arteflame One Series 40″ — XXL Flat-Top Charcoal Grill & Fire Bowl (Single-Piece CORTEN Body)
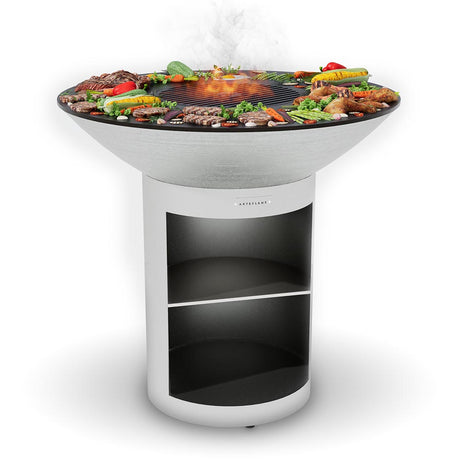


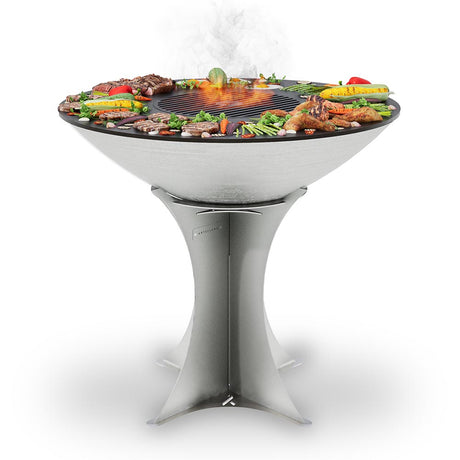
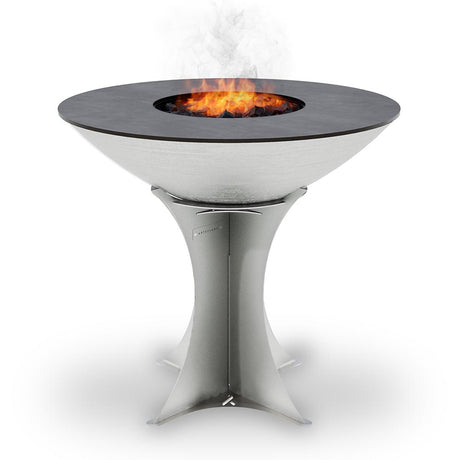
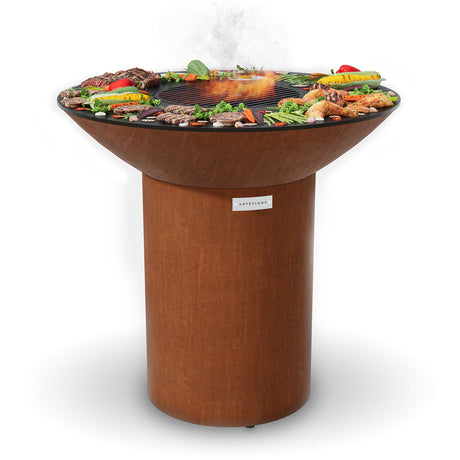
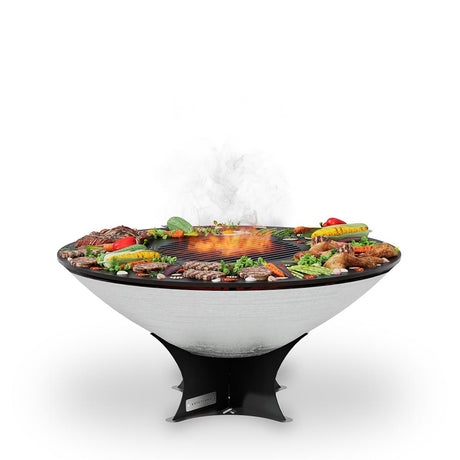
Arteflame 40″ Platinum Series — Stainless Fire Bowl Flat-Top Grill with Storage Base


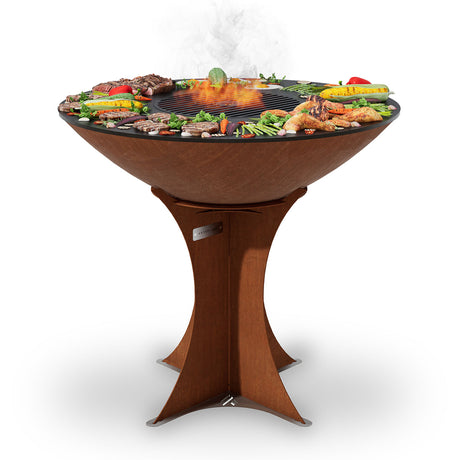
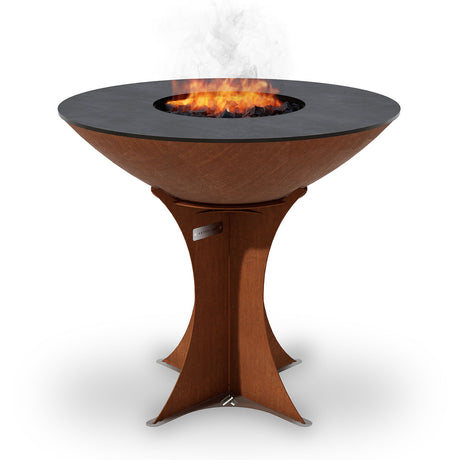
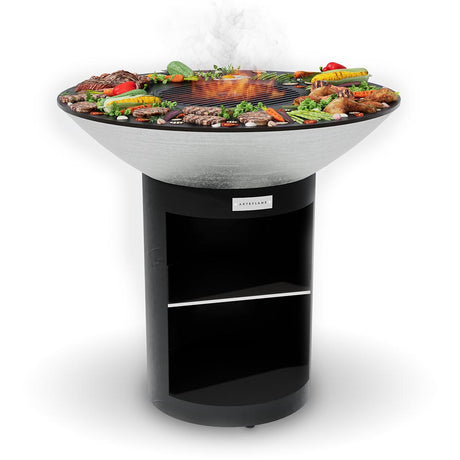
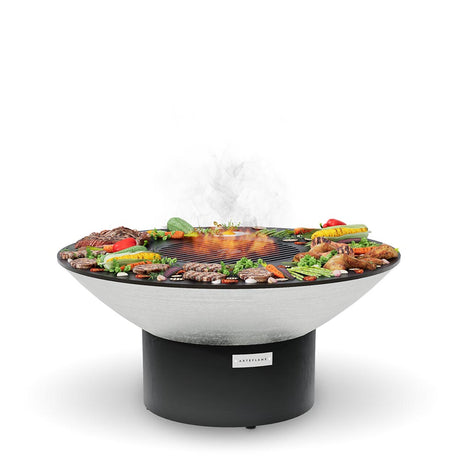
Arteflame Classic 40″ — Storage Base Flat-Top Grill & Fire Bowl (CORTEN Steel)
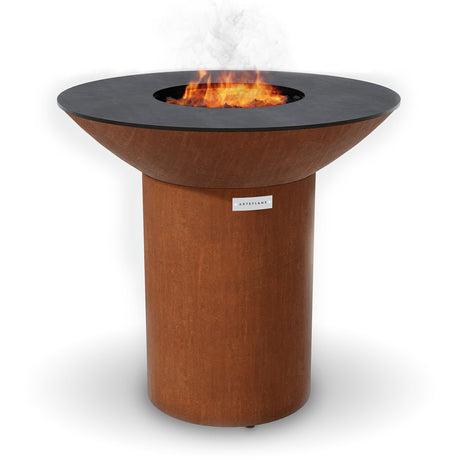
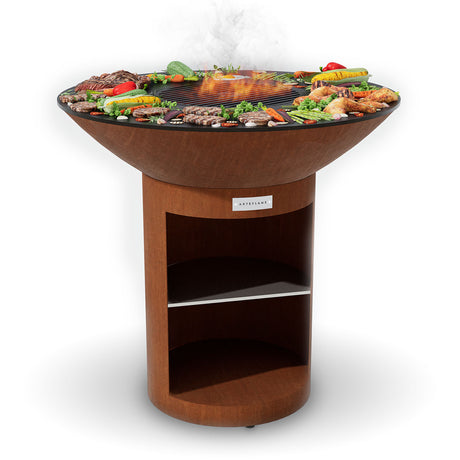
Arteflame Classic 40″ — Round Base Flat-Top Grill & Fire Bowl (CORTEN Steel)

Learn the best veggies for grilling—plus times, temps, and pro tips—optimized for Arteflame heat zones for perfect char and flavor every time.
Transform classic apple pie into a handheld delight with these Wyoming Apple Cinnamon Grilled Dessert Wraps. perfectly crispy, caramelized, and cooked on the Arteflame grill for a smoky finish.
Experience the rustic taste of the West with this Wyoming Campfire Blueberry Cobbler recipe for the Arteflame grill. Featuring bubbling blueberries and a golden biscuit crust cooked in cast iron,...
Experience the rugged flavor of the American West with these Wyoming Wild Boar Chops. Seared to perfection on the Arteflame grill, this recipe uses a savory juniper and sage rub...
Elevate your BBQ with these Wyoming-style grilled carrots. Sweet honey, tangy balsamic, and a perfect char make this the ultimate side dish for your Arteflame grill. Easy, healthy, and packed...
Unleash the flavor of the American West with these tender Wyoming Teriyaki Bison Skewers. Featuring a homemade savory-sweet glaze and perfectly charred vegetables, this recipe maximizes the searing power of...
Unlock the savory flavors of the West with this Wyoming-style garlic parmesan grilled mushrooms recipe. Perfectly seared on the Arteflame flat top, these buttery, cheesy mushrooms make the ultimate side...
Unlock the bold flavors of the West with this Wyoming-style grilled jalapeño cheddar sausage recipe. Learn how to achieve the perfect sear and juicy interior using your Arteflame grill for...