
Crisp and Golden Mac and Cheese Cakes on the Grill
Turn yesterday's leftover macaroni into today's crispy, golden side dish with this easy wood-fired recipe.


There is something almost hypnotic about watching a whole chicken spin slowly over a live wood fire. The way the skin turns that impossibly deep, golden brown while the juices sizzle and drop onto the coals creates an aroma of wood smoke and roasting herbs that calls everyone to the table. This is not just dinner; it is an outdoor ritual that feels both primal and wonderfully cozy, perfect for a slow Sunday afternoon or an impressive gathering with friends.
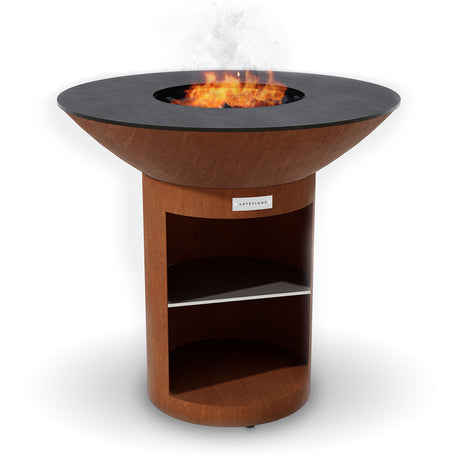
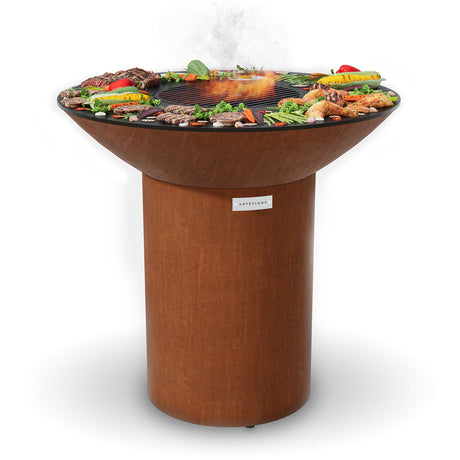
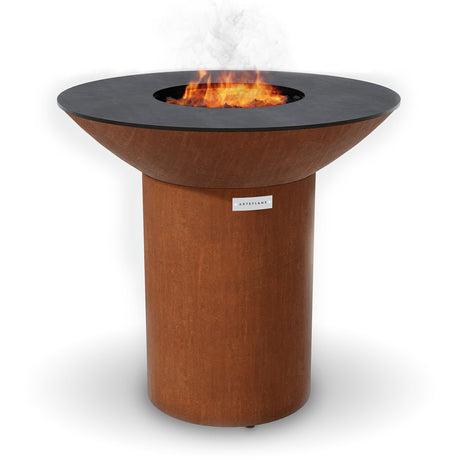
Cooking on the Arteflame takes the intimidation out of fire roasting. The open design allows for incredible heat control, meaning you get that restaurant-quality crispy skin without the dreaded flare-ups that usually char the outside before the inside is done. Plus, the self-basting action of the rotisserie guarantees the breast meat remains juicy and tender, solving the biggest problem with roasting whole birds. It is a foolproof way to create a center-of-the-table masterpiece — and, once you've mastered it, an incredibly forgiving base for the rubs, glazes, and marinades in the Variations section below.
If you do not have olive oil, melted butter or even duck fat works beautifully as a binder for the spices. Feel free to swap the fresh rosemary and thyme for dried herbs if that is what is in your pantry, though I recommend reducing the quantity slightly as dried herbs are more potent.
Achieving the perfect rotisserie chicken requires a little finesse and attention to detail. First and foremost, do not skip the trussing step. If the legs or wings are flapping around as the spit turns, they will burn long before the rest of the meat is cooked. A tight, compact cylinder shape ensures that the heat penetrates evenly. Additionally, pay attention to the fire management. You want the fire to be hot enough to crisp the skin but not so aggressive that it blackens the rub before the inside is safe to eat. If you see the skin darkening too quickly, push the burning wood slightly away from the center or let the fire die down a bit.
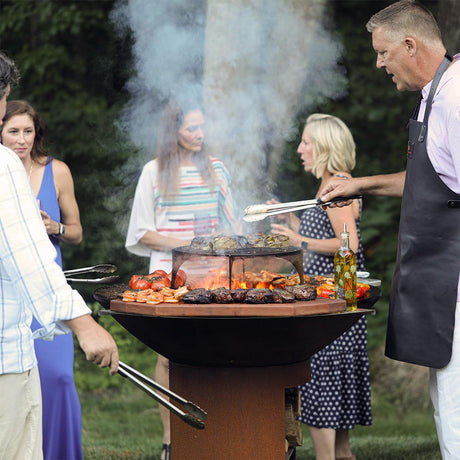
Another pro tip is to utilize the cooktop surface while the chicken spins. The Arteflame is designed to be a complete outdoor kitchen. While the rotisserie does its work over the center, the griddle ring is perfect for roasting potatoes or vegetables. The juices that might drip from the chicken (if you position the coals right) can add incredible flavor, but be careful of flare-ups. Finally, always use a reliable meat thermometer. Going by time alone is a recipe for disaster in outdoor cooking because ambient temperature and wind can drastically change how fast your grill cooks.
Once you have mastered the classic herb and garlic rotisserie chicken, the possibilities for flavor experimentation are endless. Changing the rub, marinade, or glaze can transform the dish entirely to match the theme of your meal. Because the Arteflame provides a neutral, smoky canvas, it adapts well to cuisines from around the world. Here are our favorite variations to try on your next cookout:
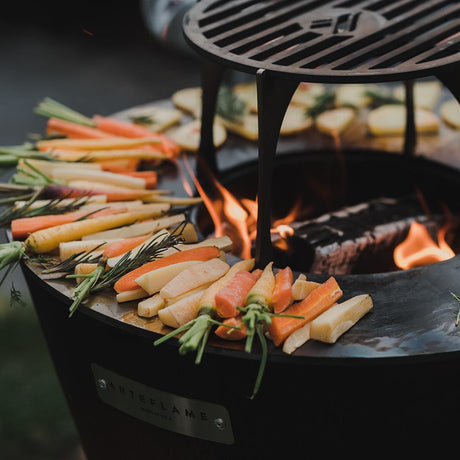
A rotisserie chicken this good deserves sides that complement its smoky richness without overshadowing it. Since you are already using the Arteflame, it makes sense to utilize the flat-top griddle surface to prepare your entire meal simultaneously. This not only saves time but also ensures everything is served hot and fresh together. The high heat of the plancha is ideal for caramelizing vegetables which provide a nice textural contrast to the tender chicken.
Cooking rotisserie chicken on the Arteflame grill is more than just a recipe; it is a culinary event that brings people together around the fire. The combination of the visual appeal of the spinning bird, the crackling of the wood, and the mouth-watering aromas creates an atmosphere of anticipation that a standard oven simply cannot match. By following these steps, you ensure that the result is as spectacular as the process—juicy, flavorful, and perfectly cooked every single time.
We hope this guide inspires you to fire up your grill and try something new. Whether you stick to the classic recipe or experiment with one of our bold variations, the Arteflame's versatility makes it easy to achieve professional-quality results in your own backyard. Gather your ingredients, invite some friends over, and enjoy the unparalleled taste of wood-fired rotisserie chicken.

Experience the difference — sear at 1,000°F, enjoy multiple heat zones, and cook with natural wood-fired flavor on one beautiful grill. Prepare everything at once, manage temperatures with ease, and elevate every outdoor gathering. Discover why an Arteflame transforms the entire grilling experience.










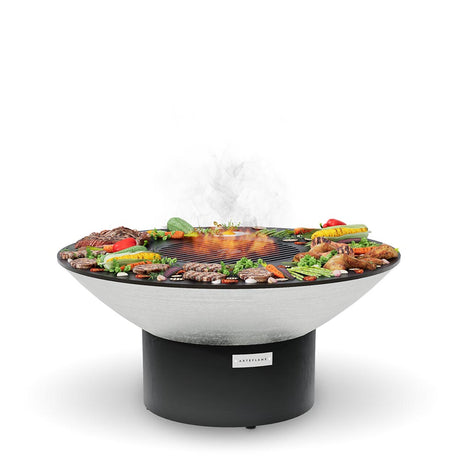
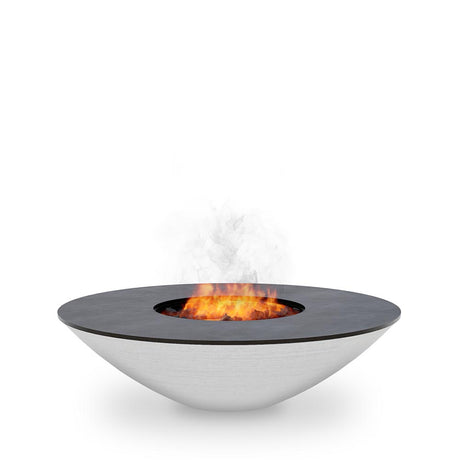
Turn yesterday's leftover macaroni into today's crispy, golden side dish with this easy wood-fired recipe.

Master this Texas-style open-fire brisket cooked entirely on the Arteflame grill. By searing on the center grate and wrapping to render on the flat top, you get perfectly tender, juicy...

Transform standard thick-cut bacon into a sweet, savory appetizer with a dark stout and brown sugar glaze, perfectly caramelized on a flat-top grill.

Render the perfect crispy skin with these Sichuan Peppercorn Duck Breasts, paired with a smoky, sweet, and spicy charred plum-poblano sauce.

Tender artichoke halves charred over high heat and smothered in rich garlic butter and Parmesan cheese.

Achieve the ultimate crust with this low-and-slow beef brisket recipe, utilizing natural heat zones for a perfect sear and incredibly tender finish.

Transform the trending crispy rice paper dumplings into a wood-fired masterpiece. Cooked on the Arteflame flat steel griddle for a shatteringly crisp crust and savory, high-protein filling.

Elevate albacore tuna with a steakhouse-style bacon wrap and a decadent green peppercorn cream sauce, grilled flawlessly on a flat-top.
Inspired to Grill?
Love it? Tell us — rate this recipe in 2 seconds. Tap a star below.