Best Grilled Vegetables: Charred & Crispy Guide | Arteflame
Learn the best veggies for grilling—plus times, temps, and pro tips—optimized for Arteflame heat zones for perfect char and flavor every time.
 4.8
4.8
There is a primal magic that happens when dough meets live fire. The aroma of wild yeast mingling with wood smoke creates an anticipation that an indoor oven simply cannot match. This California Wood-Fired Sourdough boasts a spectacularly blistered, caramelized crust that shatters satisfyingly upon the first cut, revealing a soft, airy interior. It’s the kind of rustic loaf that demands to be torn apart by hand and shared under the open sky, turning a simple baking project into a memorable outdoor event.
I adore this recipe because it channels the spirit of West Coast artisan baking right in your backyard. Unlike a conventional oven, the radiant heat from the Arteflame creates a depth of flavor and a texture that is impossibly crisp yet tender. It connects you to the ancient tradition of hearth baking, proving that the best bakery in town is actually your own grill.
If you prefer a milder flavor, you can swap the whole wheat flour for an equal amount of spelt or simply use more bread flour. For a deeper, earthier profile, try substituting a small portion of the flour with dark rye, though keep an eye on hydration as rye is thirsty.
To achieve that classic California style—crispy on the outside with a complex, tangy crumb—we rely on high-quality basics. Accurate measurements are key, so using a kitchen scale is highly recommended.
Baking sourdough on an Arteflame is an art that blends science with intuition. The most critical factor is managing your heat source. Because you are relying on wood fire, the temperature can fluctuate. Keep a laser thermometer handy to check the surface temperature of your cooktop and the Dutch oven. If the pot gets too hot on the bottom, you can elevate it slightly using a small grill grate or move it further toward the outer edge of the cooktop.
Steam is the secret weapon for that professional-looking crust. If your dough feels dry, you can toss an ice cube into the Dutch oven right before you close the lid; this generates an instant burst of steam. Additionally, do not rush the cooling process. Sourdough continues to cook internally after being removed from the heat. Cutting into it too early releases the steam and can result in a gummy texture, ruining hours of hard work.
Once you have mastered the classic California loaf, the neutral canvas of sourdough allows for endless creativity. You can mix various inclusions into the dough during the second fold of the bulk fermentation stage. Here are a few wood-fired favorites to try on your Arteflame:
Fresh wood-fired sourdough is incredibly versatile, serving as the perfect vehicle for both simple toppings and elaborate meals. The smoky undertones of the crust created by the Arteflame make it particularly suited for rich, savory accompaniments. There is nothing quite like a thick slice of warm bread slathered with high-quality cultured butter and a sprinkle of flaky sea salt.
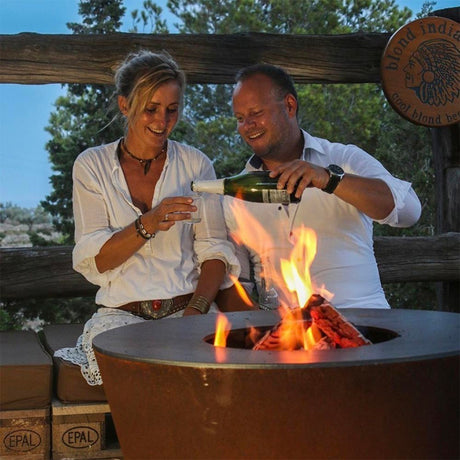
Baking California Wood-Fired Sourdough Bread on your Arteflame is more than just following a recipe; it is a culinary adventure that rewards patience and attention to detail. The resulting loaf, with its blistered, smoky crust and complex, tangy flavor profile, is far superior to anything you can buy at a supermarket. It creates a gathering point, drawing friends and family closer to the fire to share in the warmth and aroma of fresh bread.
We hope this guide inspires you to fire up the grill and get flour on your hands. The learning curve of managing wood fire only makes the success tastier. So, feed your starter, prep your Dutch oven, and enjoy the unmatched satisfaction of slicing into a loaf baked by real fire and real passion.

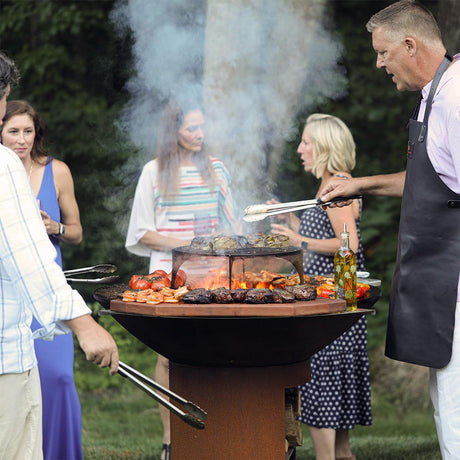
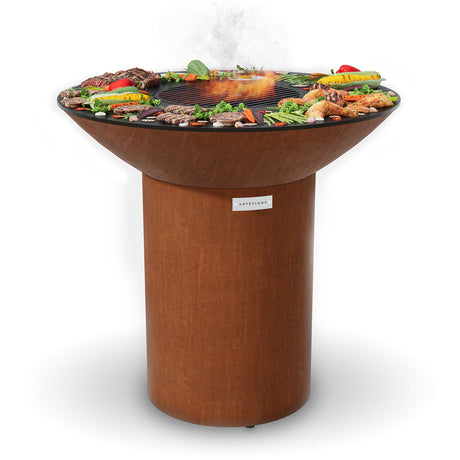
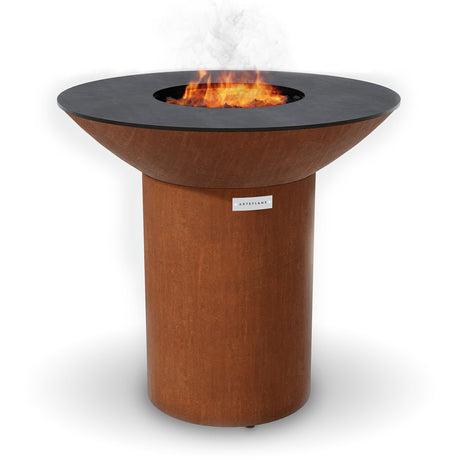
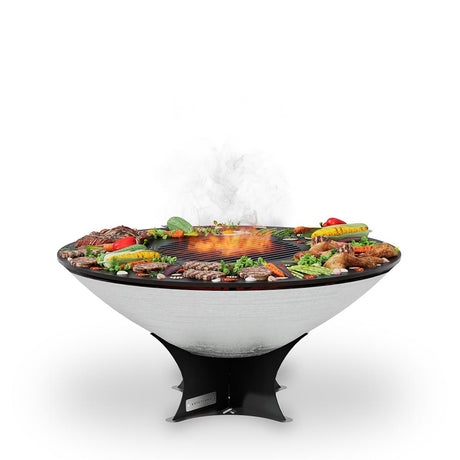
Experience the difference — sear at 1,000°F, enjoy multiple heat zones, and cook with natural wood-fired flavor on one beautiful grill. Prepare everything at once, manage temperatures with ease, and elevate every outdoor gathering. Discover why an Arteflame transforms the entire grilling experience.


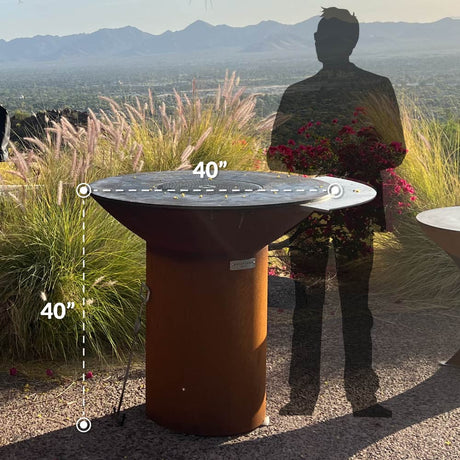
Arteflame One Series 40″ — XXL Flat-Top Charcoal Grill & Fire Bowl (Single-Piece CORTEN Body)
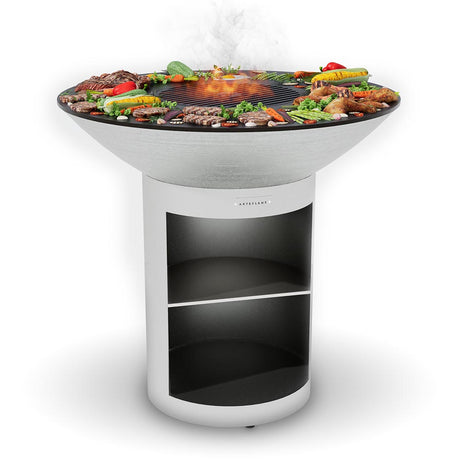
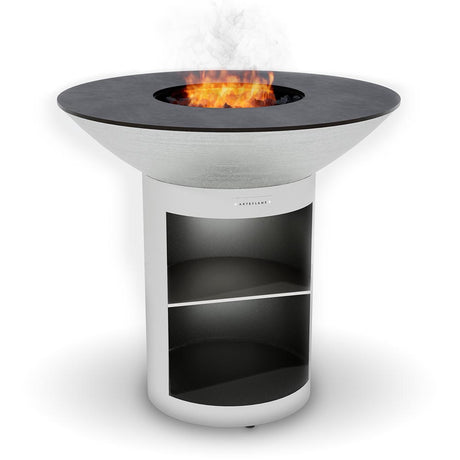


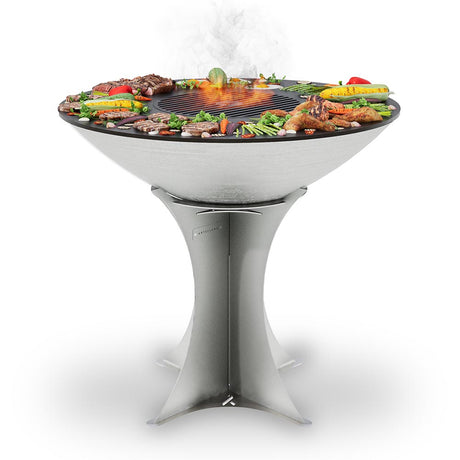
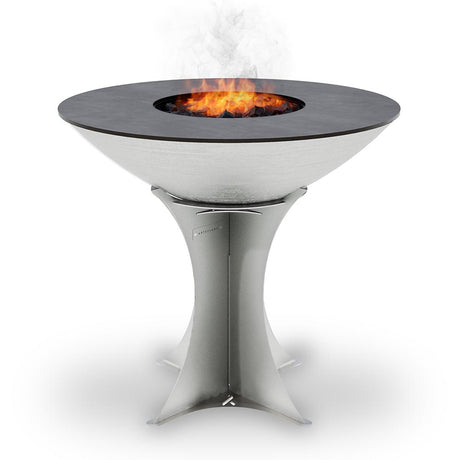
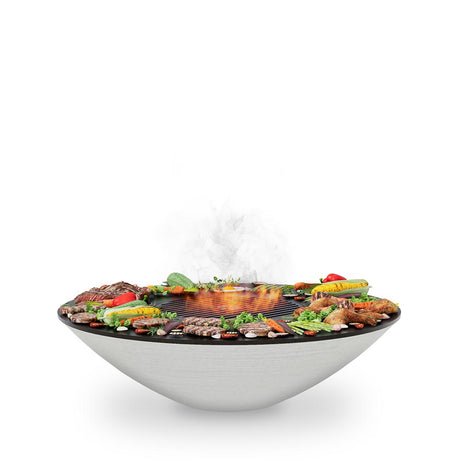
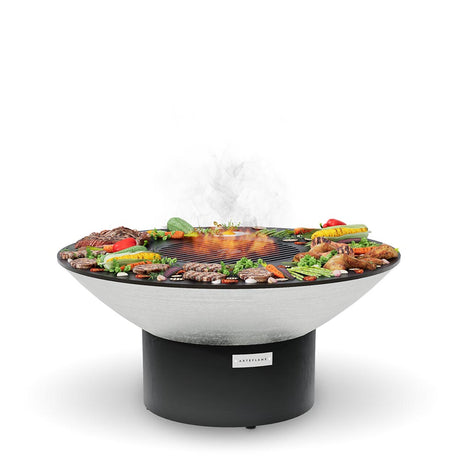
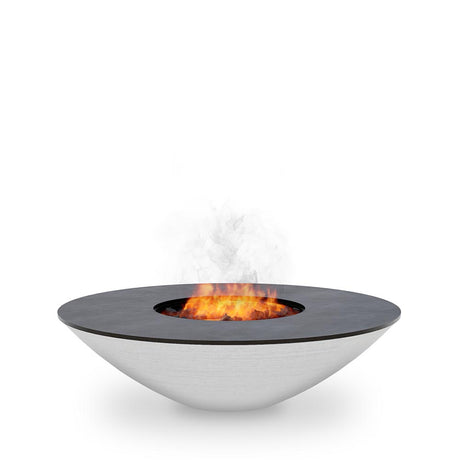
Arteflame 40″ Platinum Series — Stainless Fire Bowl Flat-Top Grill with Storage Base
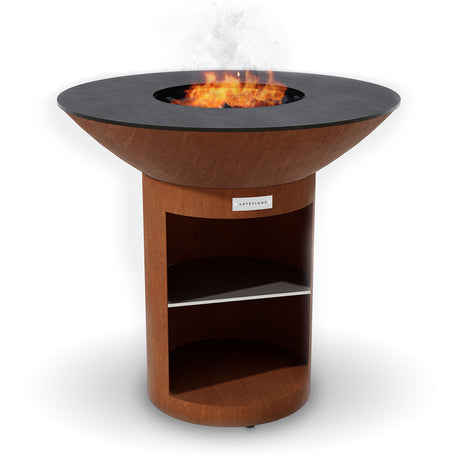


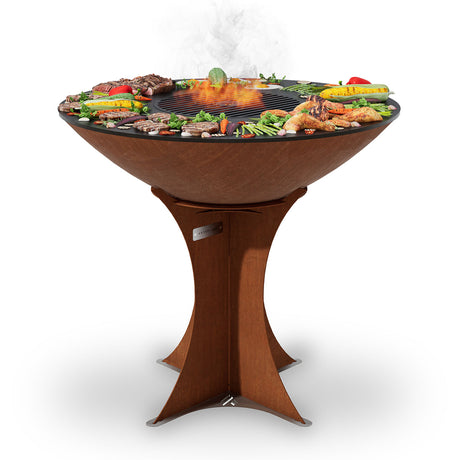
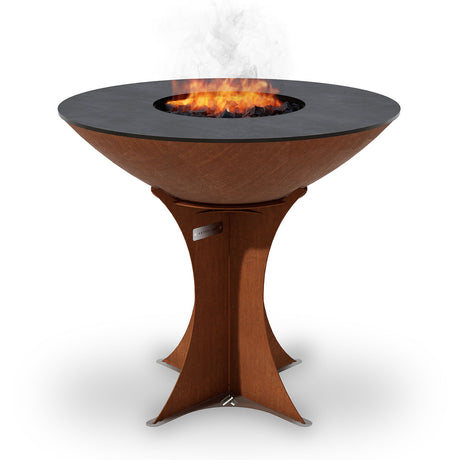
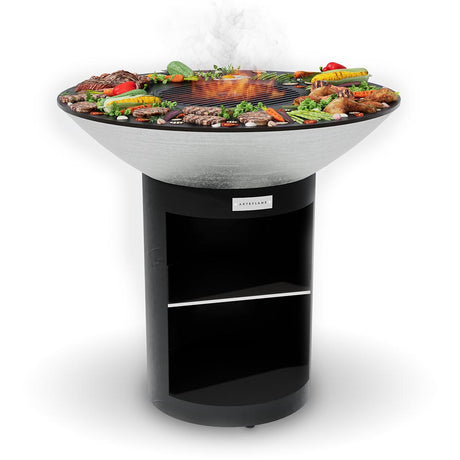
Arteflame Classic 40″ — Storage Base Flat-Top Grill & Fire Bowl (CORTEN Steel)
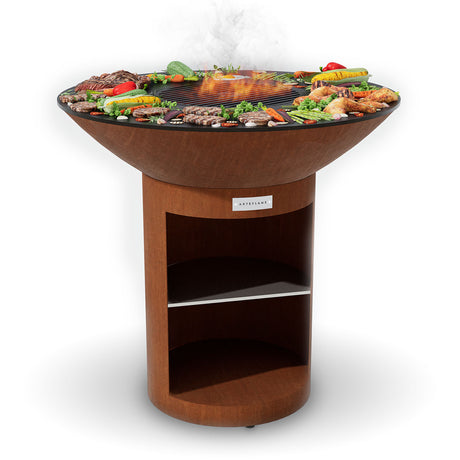
Arteflame Classic 40″ — Round Base Flat-Top Grill & Fire Bowl (CORTEN Steel)
Learn the best veggies for grilling—plus times, temps, and pro tips—optimized for Arteflame heat zones for perfect char and flavor every time.
Transform classic apple pie into a handheld delight with these Wyoming Apple Cinnamon Grilled Dessert Wraps. perfectly crispy, caramelized, and cooked on the Arteflame grill for a smoky finish.
Experience the rustic taste of the West with this Wyoming Campfire Blueberry Cobbler recipe for the Arteflame grill. Featuring bubbling blueberries and a golden biscuit crust cooked in cast iron,...
Experience the rugged flavor of the American West with these Wyoming Wild Boar Chops. Seared to perfection on the Arteflame grill, this recipe uses a savory juniper and sage rub...
Elevate your BBQ with these Wyoming-style grilled carrots. Sweet honey, tangy balsamic, and a perfect char make this the ultimate side dish for your Arteflame grill. Easy, healthy, and packed...
Unleash the flavor of the American West with these tender Wyoming Teriyaki Bison Skewers. Featuring a homemade savory-sweet glaze and perfectly charred vegetables, this recipe maximizes the searing power of...
Unlock the savory flavors of the West with this Wyoming-style garlic parmesan grilled mushrooms recipe. Perfectly seared on the Arteflame flat top, these buttery, cheesy mushrooms make the ultimate side...
Unlock the bold flavors of the West with this Wyoming-style grilled jalapeño cheddar sausage recipe. Learn how to achieve the perfect sear and juicy interior using your Arteflame grill for...