
Crisp and Golden Mac and Cheese Cakes on the Grill
Turn yesterday's leftover macaroni into today's crispy, golden side dish with this easy wood-fired recipe.


There is something undeniably magical about lifting the grill lid to find a golden-brown bird sitting proudly on its throne. The aroma of smoky paprika and roasting garlic hits you first, followed by the promise of the juiciest meat imaginable. Beer can chicken isn't just a barbecue novelty; it's the ultimate backyard comfort food that screams summer weekends and easy living.
I keep coming back to this method because it effortlessly solves the age-old problem of dry poultry. The steaming liquid works from the inside out, ensuring the breast meat stays succulent while the heat crisps the skin. It looks impressive for guests but requires surprisingly little effort—just season, sit it, and let the grill do the heavy lifting.
If you prefer not to cook with alcohol, simply swap the beer for a can of soda (cola adds a great caramelized note) or fill an empty clean can with chicken stock or apple cider. You can also vary the spice rub by using a Cajun blend for extra heat.
Beer can chicken is simple, but a few small adjustments can dramatically improve flavor and texture. Maintaining steady heat prevents the skin from burning while allowing the interior to steam gently. Choosing a mild beer enhances moisture without overpowering the seasoning mix. Letting the chicken rest before carving helps the juices redistribute for maximum tenderness. For charcoal grills, adding wood chunks or chips provides an extra layer of smoky richness. If your beer is ice-cold, let it come to room temperature first—a cold can slows the cook and can leave the cavity undercooked.
This recipe offers endless customization opportunities based on your preferred flavors and grilling style. You can swap seasonings, try new liquids, or adjust cooking techniques to suit your taste. These simple changes keep the dish exciting while maintaining the iconic juicy texture beer can chicken is known for.
This juicy, smoky beer can chicken pairs beautifully with a variety of sides and drinks. Opt for refreshing, crisp flavors to complement the rich seasoning and char, or choose hearty accompaniments to make it a full cookout meal. These pairing ideas elevate the dish while keeping preparation simple.
Beer can chicken remains a favorite for good reason: it’s easy to prepare, flavorful, and consistently tender. With just a handful of ingredients and a reliable grilling setup, you can create a meal that feels both impressive and comforting. The steam from the beer and the smoky heat from the grill work together to create a perfectly cooked chicken every time.
Whether you're hosting a cookout or simply enjoying a relaxed weekend meal, this recipe delivers dependable results with big flavor—and if your grill has no lid, the dome method above means you never have to skip this dish. Keep it on rotation for effortless, crowd‑pleasing grilling.

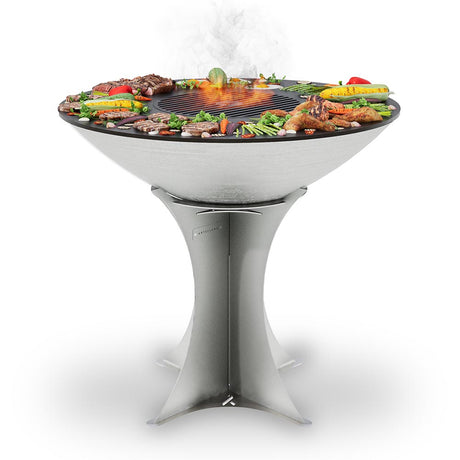
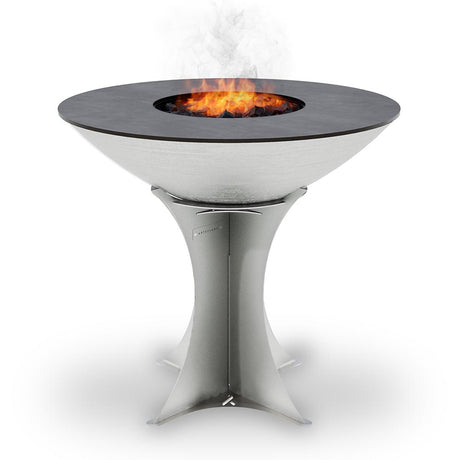
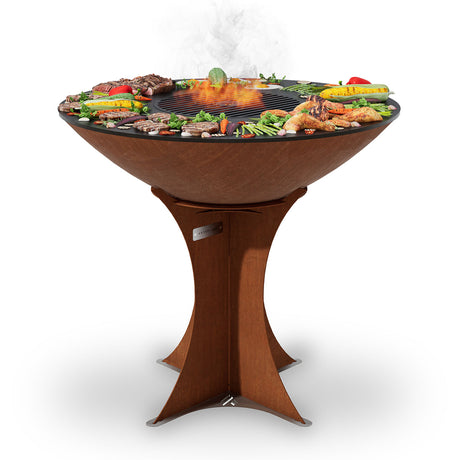
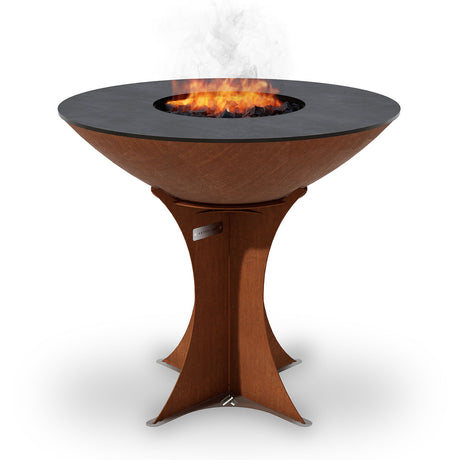
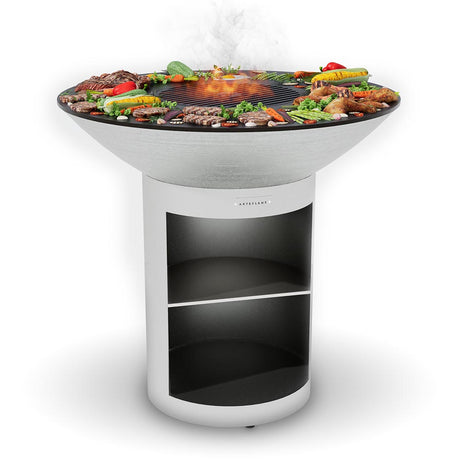
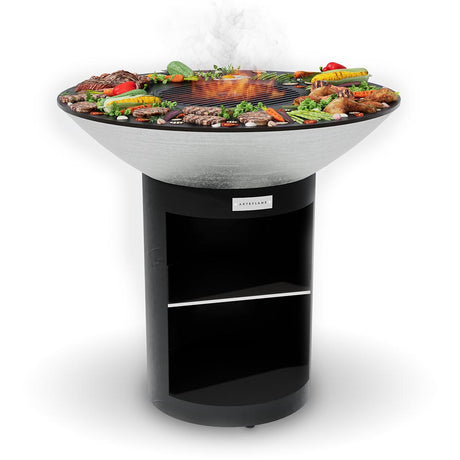
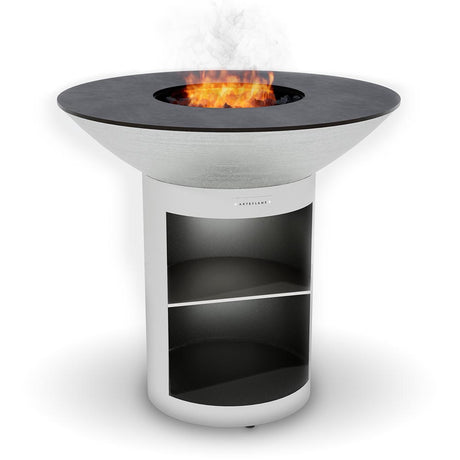
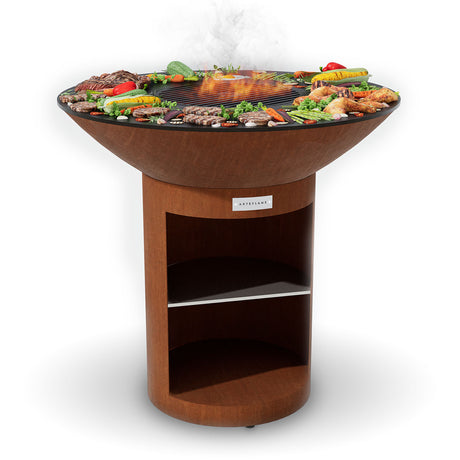
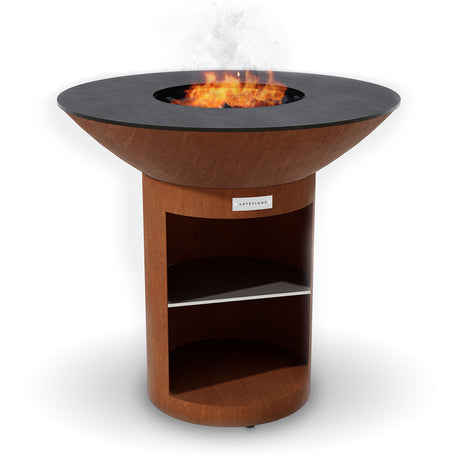
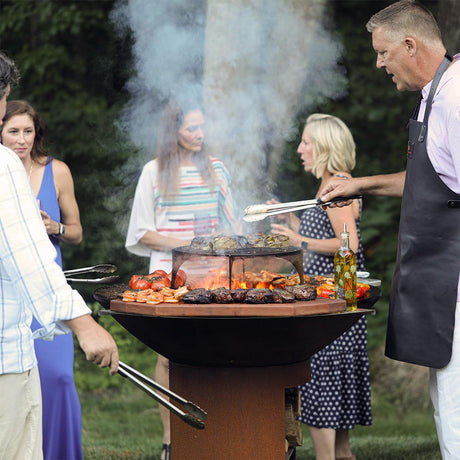
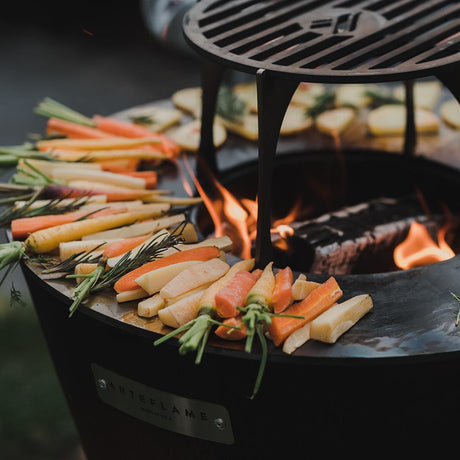
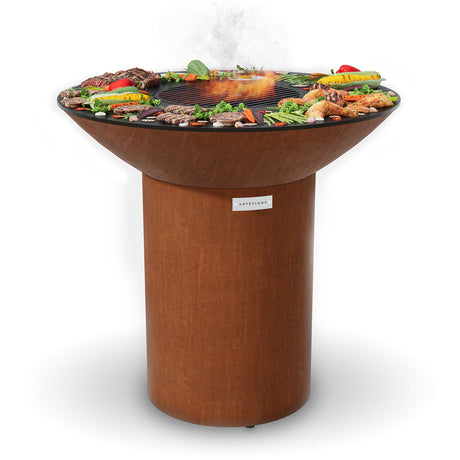
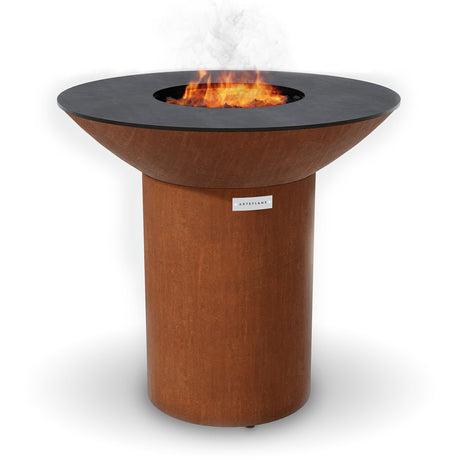
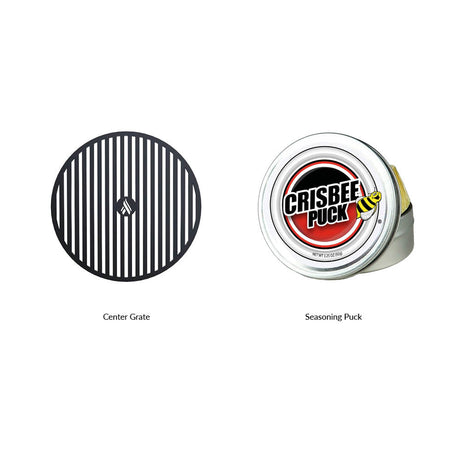
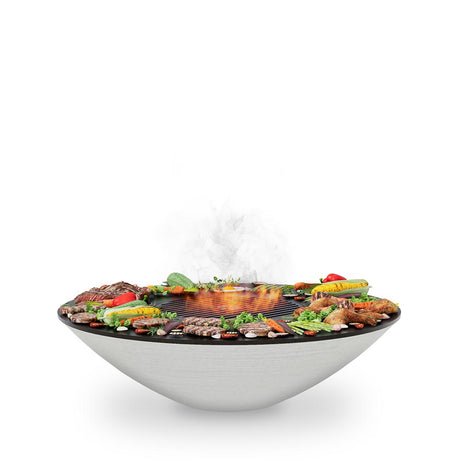
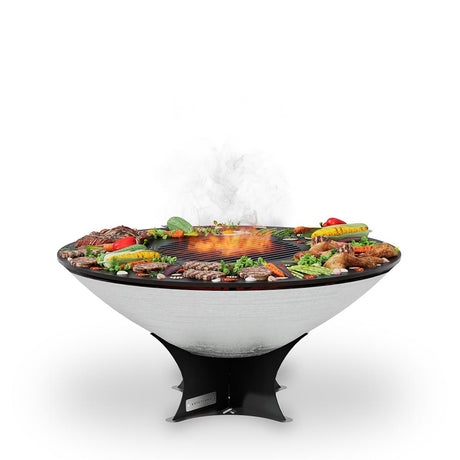
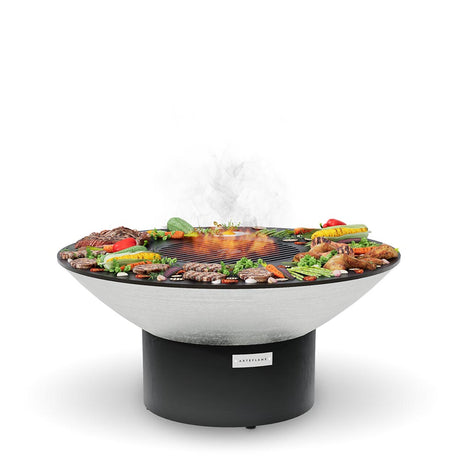
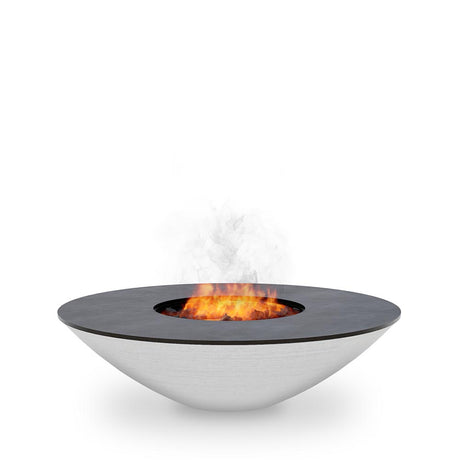
Experience the Arteflame difference — 1,000°F searing, multiple heat zones, and true wood-fired flavor in one striking grill. Cook everything at once with total temperature control and enjoy a more intentional, elevated outdoor cooking experience. Discover why an Arteflame isn’t just a grill — it transforms the way you cook.









Turn yesterday's leftover macaroni into today's crispy, golden side dish with this easy wood-fired recipe.

Master this Texas-style open-fire brisket cooked entirely on the Arteflame grill. By searing on the center grate and wrapping to render on the flat top, you get perfectly tender, juicy...

Transform standard thick-cut bacon into a sweet, savory appetizer with a dark stout and brown sugar glaze, perfectly caramelized on a flat-top grill.

Render the perfect crispy skin with these Sichuan Peppercorn Duck Breasts, paired with a smoky, sweet, and spicy charred plum-poblano sauce.

Tender artichoke halves charred over high heat and smothered in rich garlic butter and Parmesan cheese.

Achieve the ultimate crust with this low-and-slow beef brisket recipe, utilizing natural heat zones for a perfect sear and incredibly tender finish.

Transform the trending crispy rice paper dumplings into a wood-fired masterpiece. Cooked on the Arteflame flat steel griddle for a shatteringly crisp crust and savory, high-protein filling.

Elevate albacore tuna with a steakhouse-style bacon wrap and a decadent green peppercorn cream sauce, grilled flawlessly on a flat-top.
Inspired to Grill?
Love it? Tell us — rate this recipe in 2 seconds. Tap a star below.