
Crisp and Golden Mac and Cheese Cakes on the Grill
Turn yesterday's leftover macaroni into today's crispy, golden side dish with this easy wood-fired recipe.


There is something truly magical about taking a soft, pillowy dumpling and giving it a smoky kiss from the open fire. These Grilled Pierogi offer the ultimate texture contrast: a golden, slightly blistered crust that gives way to tender dough and a warm, melting potato-cheese center. It brings back memories of summer evenings where traditional comfort food gets a rustic upgrade, turning a standard side dish into the star of the backyard barbecue. The aroma of butter hitting the hot grill mixed with caramelized onions is simply irresistible.
I adore this recipe because it bridges the gap between cozy winter staples and vibrant summer cooking. While boiling makes them tender, finishing them on the grill adds a layer of depth and crunch you just cannot get from a frying pan. It is a fantastic make-ahead meal; you can boil a big batch in advance and simply throw them on the griddle when your guests arrive.
For a dairy-free version, simply swap the butter in the dough for more oil and use a plant-based cheese in the filling. You can also easily substitute the cheddar for farmer's cheese or gruyère for a more traditional or nutty flavor profile.
Perfect pierogi come down to dough texture, sealing technique, and careful grilling. Resting the dough makes it easier to work with, while boiling before grilling ensures a tender interior. Make sure each pieróg is sealed tightly to prevent the filling from escaping. For deeper flavor, let the onions caramelize fully before adding them to the filling. When grilling, avoid high heat so the pierogi crisp without burning. Lightly oil the grill surface to prevent sticking.
Pierogi are wonderfully adaptable, making them ideal for different flavor profiles and dietary needs. You can keep the classic potato-and-cheese filling or experiment with creative combinations that grill beautifully. Consider mixing meats, vegetables, or spices for a personalized twist that fits your meal or occasion.
These grilled pierogi pair well with fresh toppings, hearty sides, and flavorful sauces. Their soft interior and golden exterior make them compatible with both savory and refreshing accompaniments. Choose toppings that enhance the smoky flavor or add brightness to the dish.
Grilled pierogi are a delicious blend of tradition and outdoor cooking, offering comfort food with a smoky twist. This recipe keeps the process simple while guaranteeing big flavor in every bite. Whether you serve them as a main dish or a crowd-pleasing appetizer, these pierogi deliver satisfying texture and taste. Make them for family gatherings, cookouts, or weeknight cravings—they’re warm, filling, and always a hit.

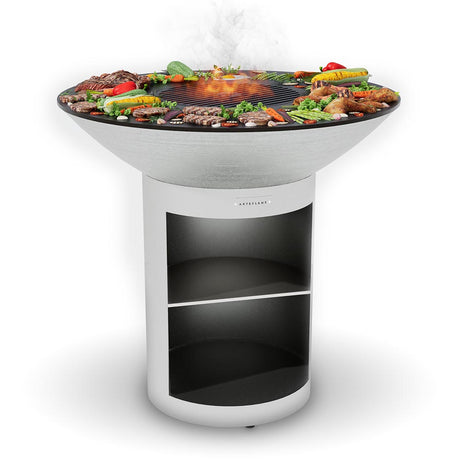
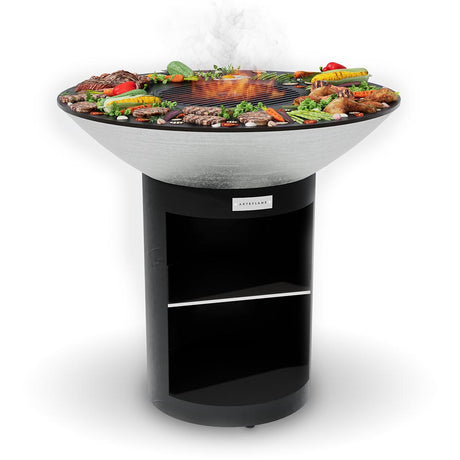
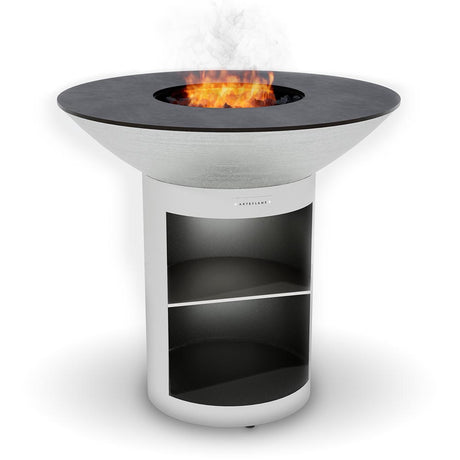
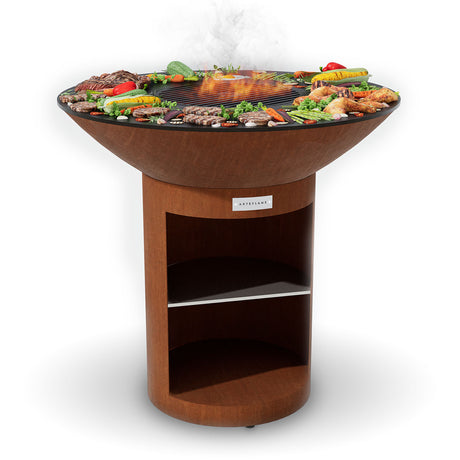
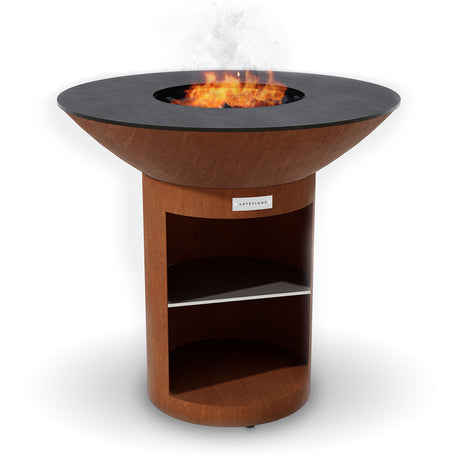
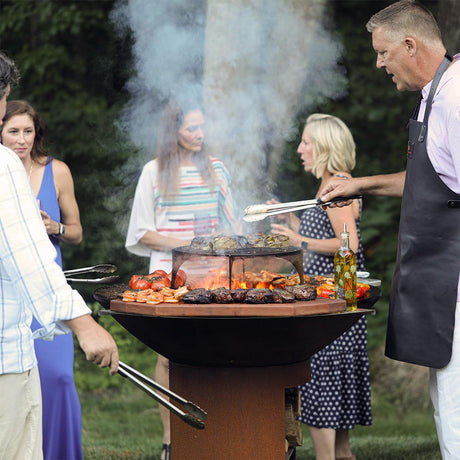
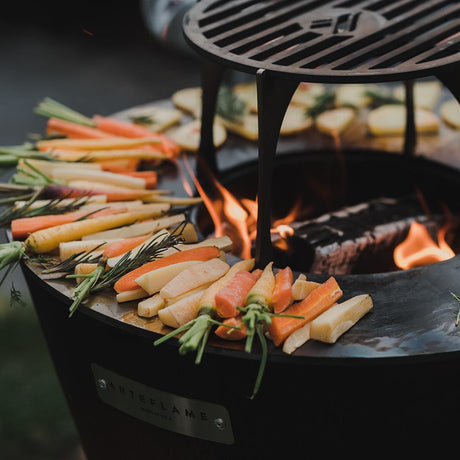
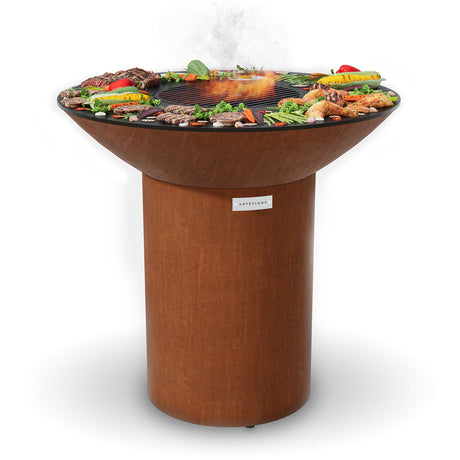
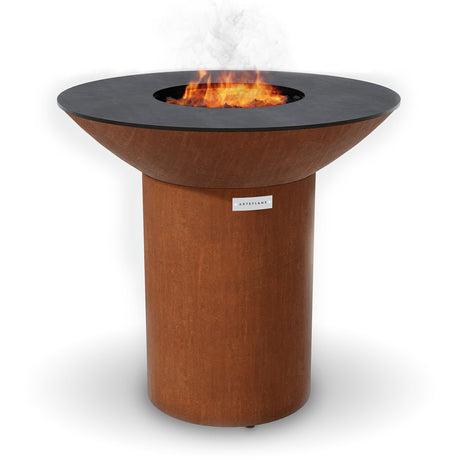
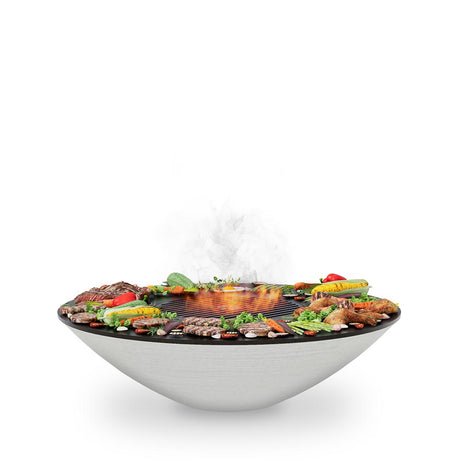
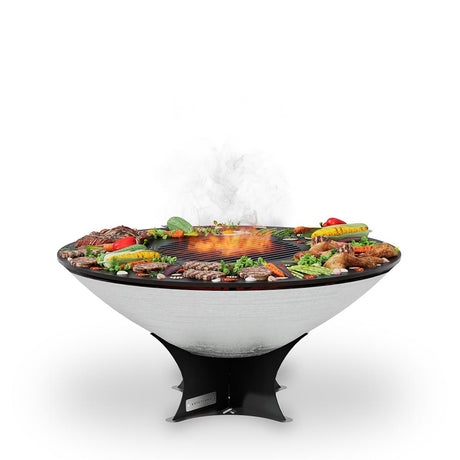
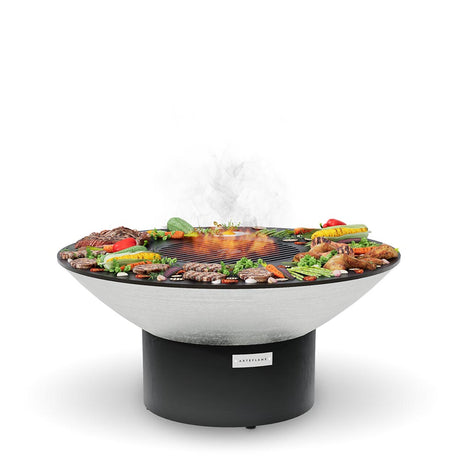
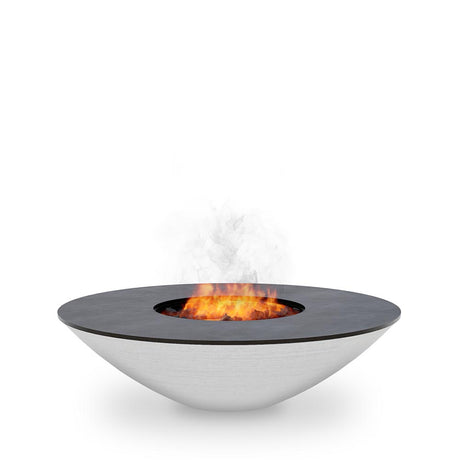
Experience the difference — sear at 1,000°F, enjoy multiple heat zones, and cook with natural wood-fired flavor on one beautiful grill. Prepare everything at once, manage temperatures with ease, and elevate every outdoor gathering. Discover why an Arteflame transforms the entire grilling experience.
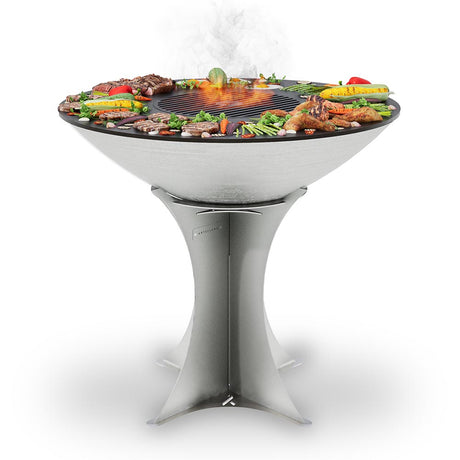

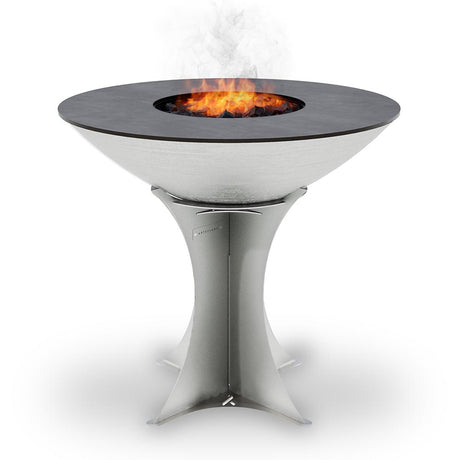


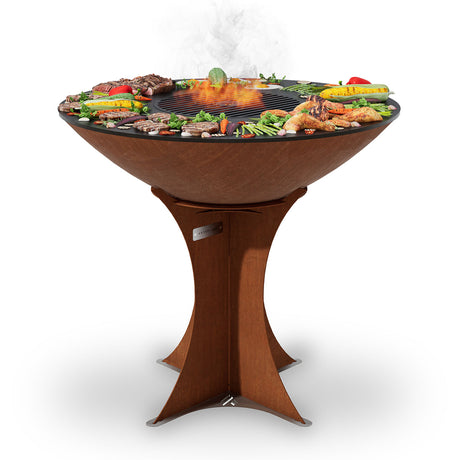
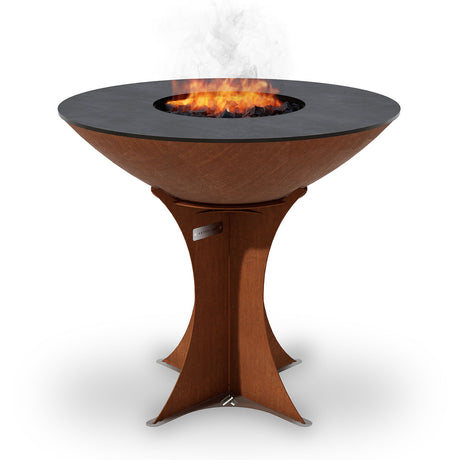





Turn yesterday's leftover macaroni into today's crispy, golden side dish with this easy wood-fired recipe.

Master this Texas-style open-fire brisket cooked entirely on the Arteflame grill. By searing on the center grate and wrapping to render on the flat top, you get perfectly tender, juicy...

Transform standard thick-cut bacon into a sweet, savory appetizer with a dark stout and brown sugar glaze, perfectly caramelized on a flat-top grill.

Render the perfect crispy skin with these Sichuan Peppercorn Duck Breasts, paired with a smoky, sweet, and spicy charred plum-poblano sauce.

Tender artichoke halves charred over high heat and smothered in rich garlic butter and Parmesan cheese.

Achieve the ultimate crust with this low-and-slow beef brisket recipe, utilizing natural heat zones for a perfect sear and incredibly tender finish.

Transform the trending crispy rice paper dumplings into a wood-fired masterpiece. Cooked on the Arteflame flat steel griddle for a shatteringly crisp crust and savory, high-protein filling.

Elevate albacore tuna with a steakhouse-style bacon wrap and a decadent green peppercorn cream sauce, grilled flawlessly on a flat-top.
Inspired to Grill?
Love it? Tell us — rate this recipe in 2 seconds. Tap a star below.