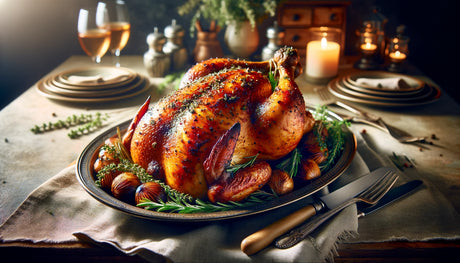
Authentic Austrian Winter Grilled Leberkäse Recipe
Experience the ultimate Austrian comfort food with this authentic Grilled Leberkäse recipe. Learn how to achieve the perfect crispy crust and juicy interior using the unique heat zones of your...
There is nothing quite like the snap of fresh Georgia corn during the peak of summer. When you toss those golden ears onto an Arteflame grill, you aren't just cooking; you are caramelizing natural sugars and infusing a subtle smokiness that boiling simply cannot achieve. This recipe elevates a humble side dish into a barbecue showstopper by pairing the charred sweetness of the corn with a rich, aromatic herb butter. Whether you are hosting a backyard cookout or enjoying a quiet family dinner, this dish captures the essence of Southern comfort food with a gourmet twist prepared perfectly on the flat cooktop.
Selecting the right corn is half the battle; look for bright green husks and silks that are slightly damp, not dried out or brown. For the best flavor infusion, make your herb butter at least an hour in advance to let the garlic and herbs meld together; the fats in the butter carry the flavor deeply into the corn. When using the Arteflame, utilize the different heat zones smartly. Start the corn closer to the center to get a quick sear and beautiful grill marks, then move them toward the cooler outer edge to finish cooking through without burning the kernels. If you prefer a nuttier, earthier flavor, you can leave the husks on, soak the ears in water for 30 minutes, and grill them whole before peeling and buttering.
While the classic herb butter is a crowd-pleaser, corn is a fantastic canvas for a variety of flavor profiles. You can easily adapt this recipe to match the theme of your meal or your personal taste preferences. Here are a few delicious ways to switch things up using the same grilling method:
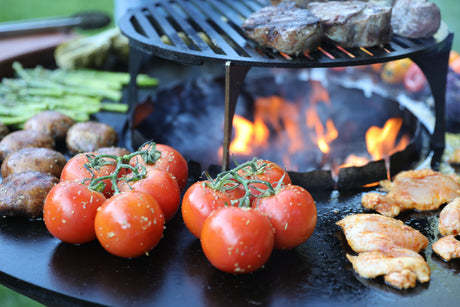
This grilled corn is versatile enough to stand alongside almost any main protein, making it a staple for outdoor cooking. It is the perfect companion for a thick, juices-running ribeye steak seared on the center grate of your Arteflame. It also balances the richness of BBQ pork ribs or grilled chicken thighs glazed in sticky sauce, providing a fresh crunch against tender meat. For a lighter vegetarian meal, pair these ears with a fresh tomato and cucumber salad and grilled portobello mushrooms. Don't forget a cold glass of sweet tea, lemonade, or a crisp lager, which cuts through the richness of the butter and complements the smoky char of the corn perfectly.
Once you experience the combination of charred, sweet Georgia corn and savory herb butter, you may never go back to boiling corn again. The Arteflame grill provides that unique searing capability that locks in moisture while creating a texture that is crisp, caramelized, and tender. This recipe is more than just a side dish; it is a celebration of fresh seasonal ingredients and the joy of open-fire cooking. Gather your friends and family, fire up the grill, and enjoy the simple, messy pleasure of eating corn right off the cob.

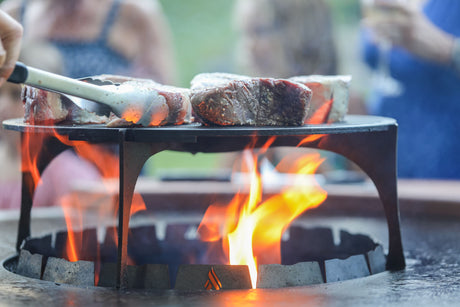
Experience the difference — sear at 1,000°F, enjoy multiple heat zones, and cook with natural wood-fired flavor on one beautiful grill. Prepare everything at once, manage temperatures with ease, and elevate every outdoor gathering. Discover why an Arteflame transforms the entire grilling experience.
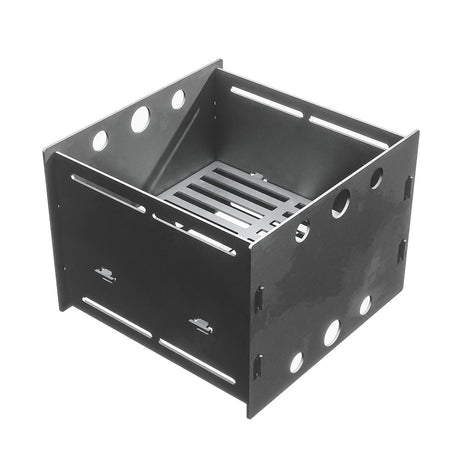
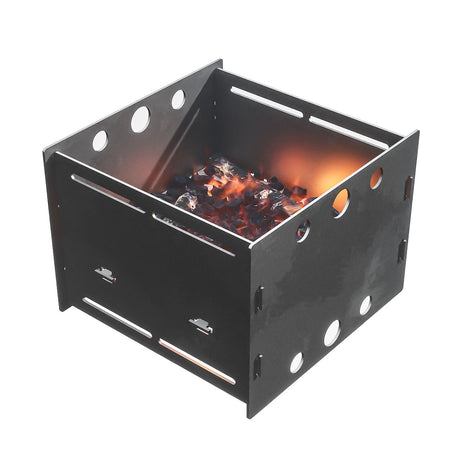


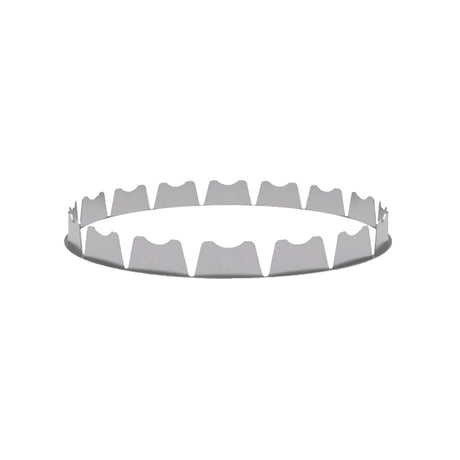
Arteflame Fuel Saver — Charcoal/Wood Heat-Focus Insert (Fits 30″ & 40″ Grills, Steel)

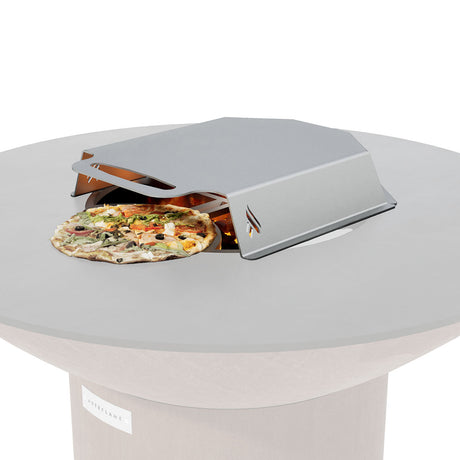


Arteflame Pizza Oven Kit for Grills - Bake Perfect Pizzas Every Time
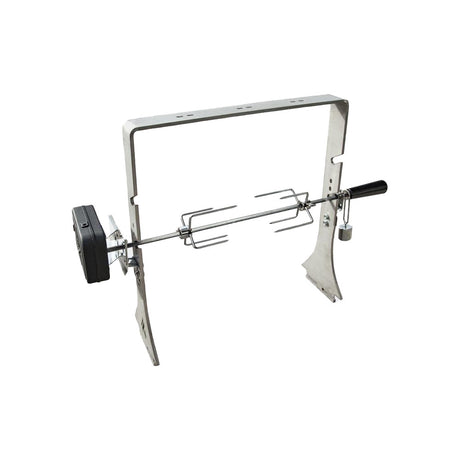

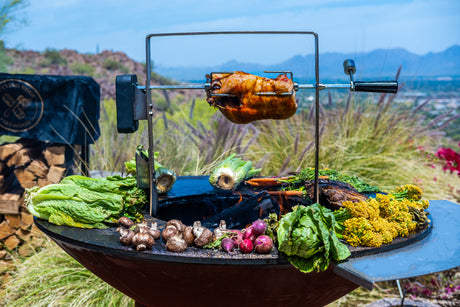

Barbecue Grill Rotisserie for your Arteflame Grill With Cordless Motor


Extra Rotisserie Cordless Motor, Spit, Forks and Bracket Kit.
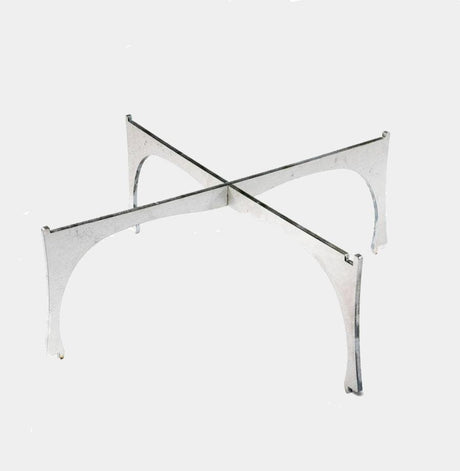

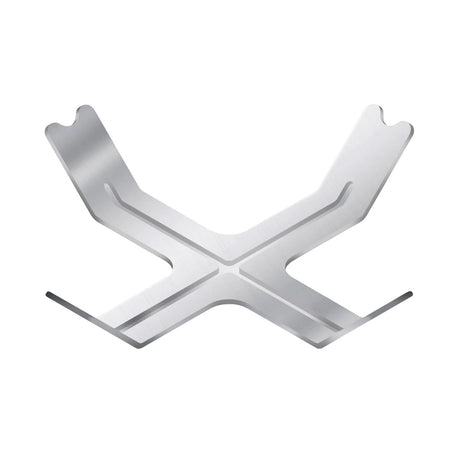
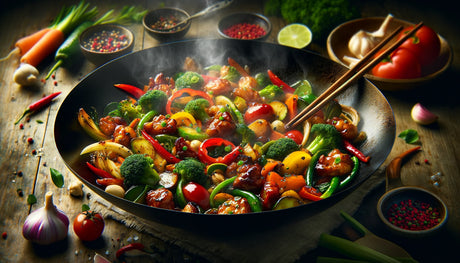

Arteflame Grill Wok Holder - Master Wok Cooking on Your Grill


Arteflame Stainless Steel Food Saver - Keep Food Secure on the Grill


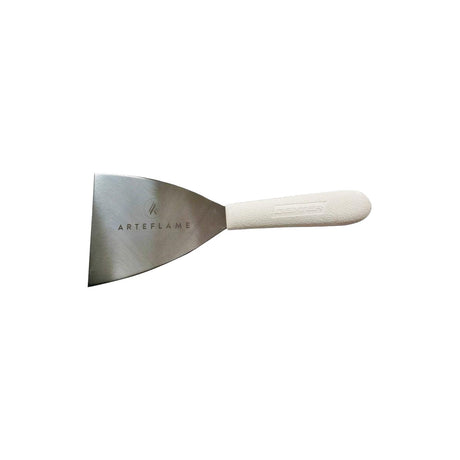

Best Griddle Scraper for Cleaning - Arteflame Stainless Steel Scraper


Arteflame Cherry Wood Cutting Block - Perfect Fit for Grills
Experience the ultimate Austrian comfort food with this authentic Grilled Leberkäse recipe. Learn how to achieve the perfect crispy crust and juicy interior using the unique heat zones of your...
Discover the ultimate summer side dish with these crispy Iowa Sweet Corn Fritters. Cooked to golden perfection on the Arteflame grill, this recipe combines fresh corn sweetness with a savory,...
Discover the perfect balance of sweet and savory with our Iowa Maple Glazed Pork Ribs recipe. Learn how to achieve fall-off-the-bone tenderness and a caramelized finish using the Arteflame grill's...
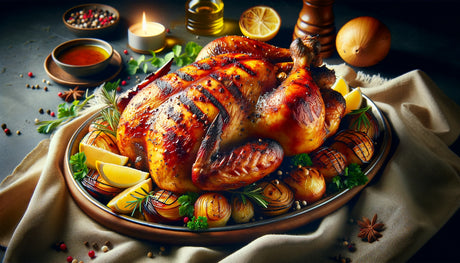
Discover the nutty richness of Austria with this Styrian Pumpkin Seed Oil Chicken recipe. Perfectly seared on the Arteflame grill, this dish combines a savory pumpkin seed crust with a...
Experience the rustic charm of the Alps right in your backyard. This Austrian-inspired grilled polenta recipe delivers a satisfying crunch, a creamy interior, and the rich, nutty flavor of melted...
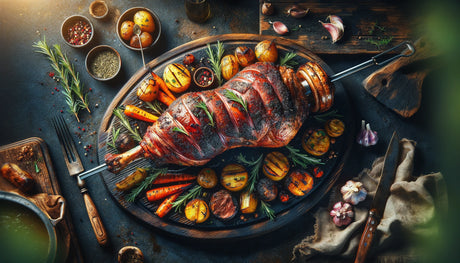
Transport your taste buds to Austria with this authentic Crispy Schopfbraten recipe. Learn how to grill a succulent, garlic and caraway-crusted pork neck roast to perfection on the Arteflame grill...
Discover the secret to perfect Iowa-style Buffalo Chicken Breasts using the Arteflame Grill. This recipe combines a savory dry rub, a smoky sear, and a buttery, tangy hot sauce glaze...
Unlock the savory secrets of Iowa Grilled Beef Short Ribs. This recipe combines a rich soy-ginger marinade with the wood-fired sear of an Arteflame grill for tender, caramelized perfection.