Best Grilled Vegetables: Charred & Crispy Guide | Arteflame
Learn the best veggies for grilling—plus times, temps, and pro tips—optimized for Arteflame heat zones for perfect char and flavor every time.
 4.8
4.8
There is nothing quite like the primal aroma of fresh dough hitting hot steel. Standing by the grill, watching these flatbreads puff into golden, airy pillows, creates a sensory experience that instantly transports you to a warm Mediterranean evening. The scent of blooming yeast mixing with the subtle woodsmoke creates an atmosphere of anticipation that store-bought pita simply cannot replicate. It is rustic, tactile, and deeply satisfying.
I love this recipe because it takes full advantage of the Arteflame’s searing capabilities. The high heat of the plancha creates those signature golden-brown blisters and a crisp exterior, while the inside remains soft and chewy. It is the ultimate crowd-pleaser—serving as both a utensil for dips and a wrap for savory meats. Best of all, it is incredibly fun to make; guests love watching the bread bubble up right before their eyes.
This dough is very forgiving. If you want a bit more fiber and a nuttier flavor, you can swap half of the all-purpose flour for white whole wheat flour. For a dairy-free finishing oil, simply omit the butter and increase the extra virgin olive oil to 5 tablespoons.
The secret to perfect grilled flatbread lies in heat management and timing. On the Arteflame, the center of the cooktop is the hottest, while the outer edges are cooler. Start your flatbreads closer to the center to get that rapid puff and sear, but move them slightly outward if they are browning too quickly before the inside is cooked. Watching the bubbles is key; once the dough bubbles up significantly, it is usually time to flip. If you try to flip too early, the dough might stick, so be patient and ensure your cooktop is well-seasoned and oiled.
Another pro tip is to keep your cooked flatbreads warm while you finish the batch. As you pull them off the grill, stack them on a plate and cover them immediately with a clean kitchen towel. The residual steam trapped under the towel keeps the bread incredibly soft and pliable, preventing it from drying out or becoming brittle. This steaming step is crucial for achieving that authentic, flexible texture perfect for wrapping.
While the classic garlic and herb combination is a crowd-pleaser, flatbread is a blank canvas suited for a variety of flavor profiles. You can easily adapt this recipe to match the theme of your meal or utilize ingredients you already have in your pantry. Experimenting with different fats, spices, or even stuffing the dough can transform this side dish into the star of the show. Here are a few delicious variations to consider for your next cookout:
Greek grilled flatbread is incredibly versatile and serves as the backbone of a great Mediterranean spread. The most classic pairing is, of course, a fresh homemade Tzatziki sauce; the cool cucumber and yogurt dip contrasts beautifully with the warm, garlic-brushed bread. It is also the ideal vessel for scooping up Hummus, Baba Ganoush, or a spicy Feta dip (Tirokafteri). The structural integrity of this bread makes it perfect for heavy scooping without breaking.
Beyond dips, this flatbread transforms into a main meal when paired with grilled proteins. Use it to wrap Chicken Souvlaki or Lamb Kofta skewers cooked right alongside the bread on your Arteflame. It also goes wonderfully with a crisp Greek salad—you can tear pieces of the bread to soak up the leftover vinaigrette and feta brine at the bottom of the bowl. For a vegetarian option, top the flatbread with grilled vegetables like zucchini, eggplant, and bell peppers for a quick flatbread pizza.
Making Greek flatbread from scratch on the Arteflame is an experience that connects you to the roots of cooking. The process is simple, but the rewards are immense—fresh, warm, preservative-free bread that tastes infinitely better than anything you can buy in a package. It elevates a simple barbecue into a thoughtful, handcrafted meal that your family and friends will remember. The combination of the crackling fire, the aroma of garlic butter, and the joy of tearing into a hot piece of bread creates a perfect culinary moment.
We hope this recipe inspires you to try baking outdoors. Once you get comfortable with the dough, you will find yourself making it for every grill session. Gather your ingredients, light up the Arteflame, and enjoy the delicious simplicity of homemade grilled flatbread. Don't forget to share your results and your favorite flavor combinations with the grilling community!

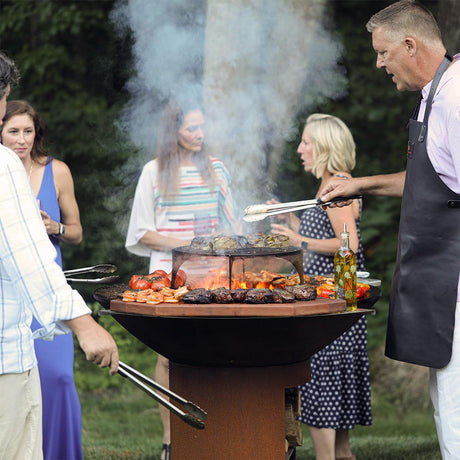
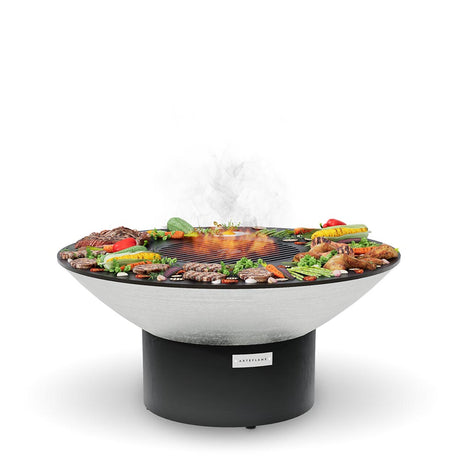
Experience the Arteflame difference — 1,000°F searing, multiple heat zones, and true wood-fired flavor in one striking grill. Cook everything at once with total temperature control and enjoy a more intentional, elevated outdoor cooking experience. Discover why an Arteflame isn’t just a grill — it transforms the way you cook.


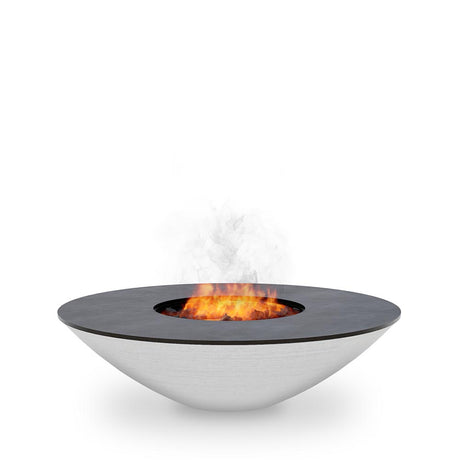
Arteflame One Series 40″ — XXL Flat-Top Charcoal Grill & Fire Bowl (Single-Piece CORTEN Body)
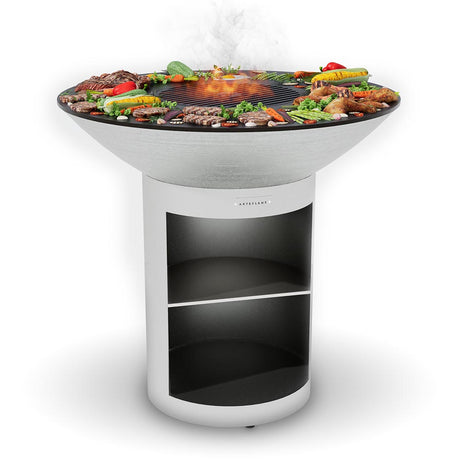
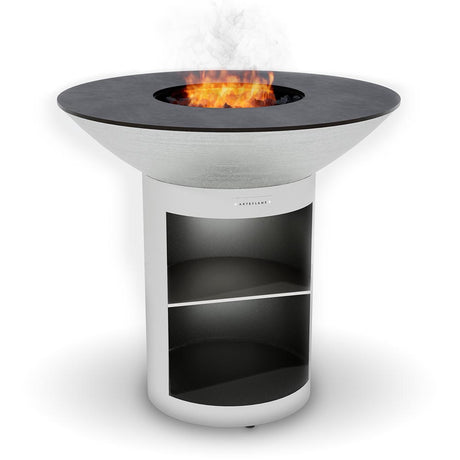


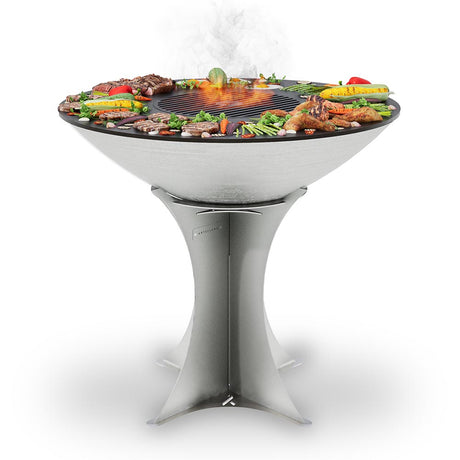
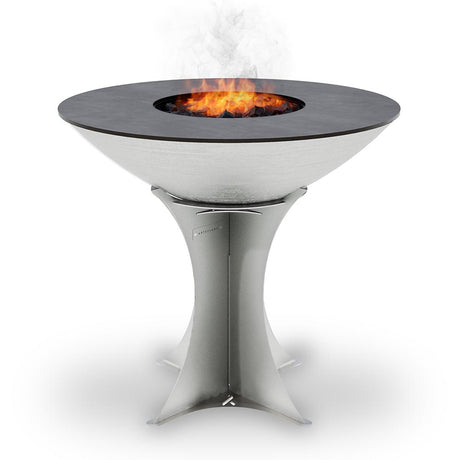
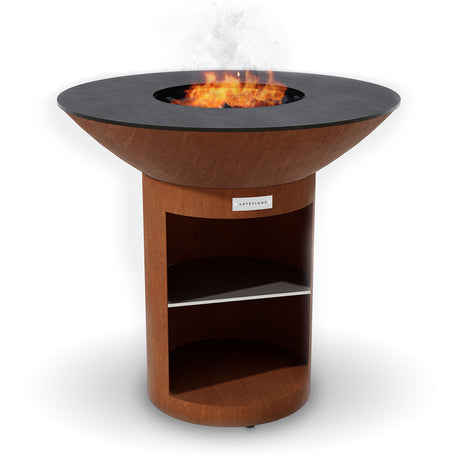
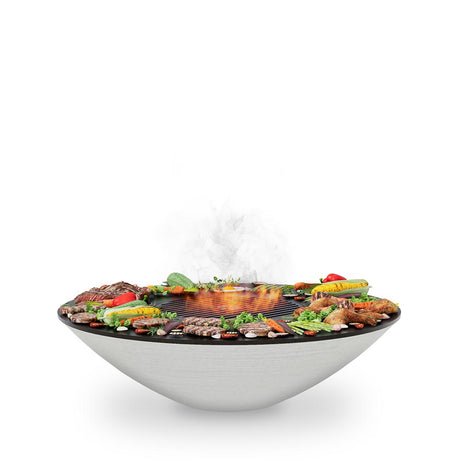
Arteflame 40″ Platinum Series — Stainless Fire Bowl Flat-Top Grill with Storage Base


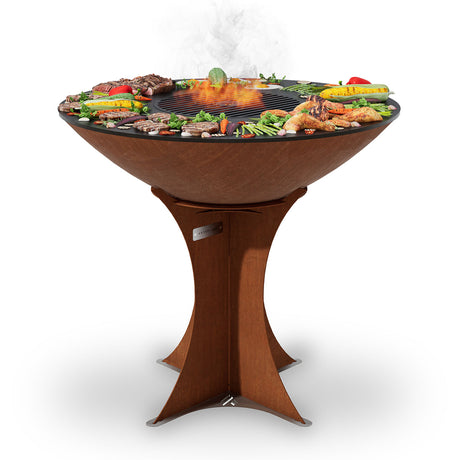
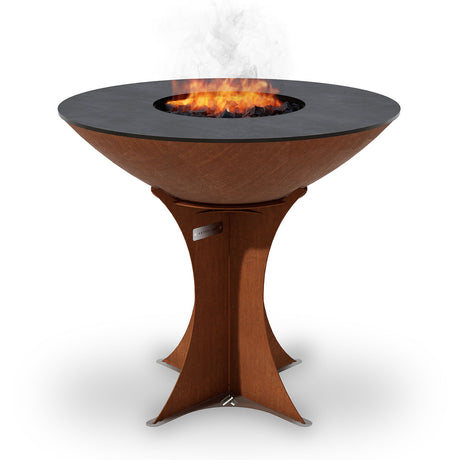
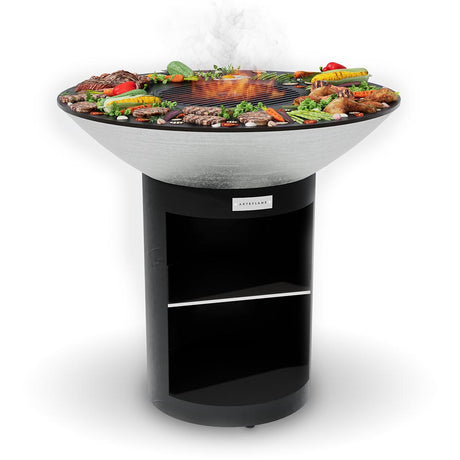
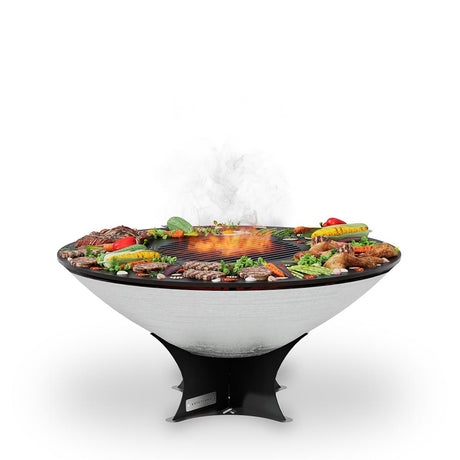
Arteflame Classic 40″ — Storage Base Flat-Top Grill & Fire Bowl (CORTEN Steel)
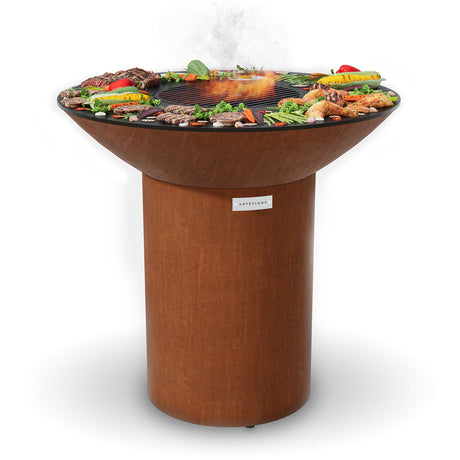
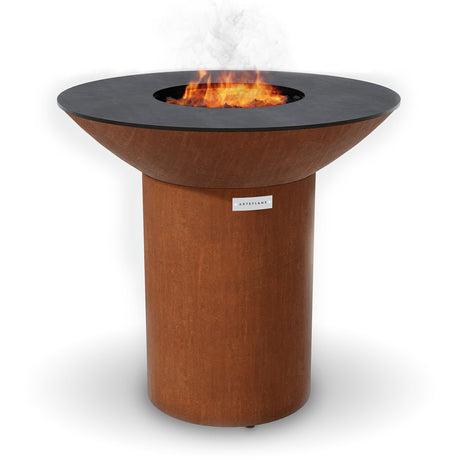
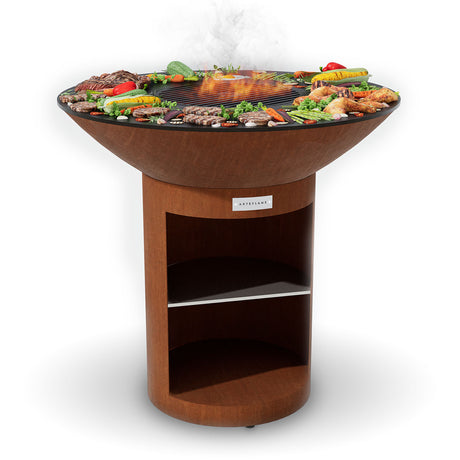
Arteflame Classic 40″ — Round Base Flat-Top Grill & Fire Bowl (CORTEN Steel)
Learn the best veggies for grilling—plus times, temps, and pro tips—optimized for Arteflame heat zones for perfect char and flavor every time.
Transform classic apple pie into a handheld delight with these Wyoming Apple Cinnamon Grilled Dessert Wraps. perfectly crispy, caramelized, and cooked on the Arteflame grill for a smoky finish.
Experience the rustic taste of the West with this Wyoming Campfire Blueberry Cobbler recipe for the Arteflame grill. Featuring bubbling blueberries and a golden biscuit crust cooked in cast iron,...
Experience the rugged flavor of the American West with these Wyoming Wild Boar Chops. Seared to perfection on the Arteflame grill, this recipe uses a savory juniper and sage rub...
Elevate your BBQ with these Wyoming-style grilled carrots. Sweet honey, tangy balsamic, and a perfect char make this the ultimate side dish for your Arteflame grill. Easy, healthy, and packed...
Unleash the flavor of the American West with these tender Wyoming Teriyaki Bison Skewers. Featuring a homemade savory-sweet glaze and perfectly charred vegetables, this recipe maximizes the searing power of...
Unlock the savory flavors of the West with this Wyoming-style garlic parmesan grilled mushrooms recipe. Perfectly seared on the Arteflame flat top, these buttery, cheesy mushrooms make the ultimate side...
Unlock the bold flavors of the West with this Wyoming-style grilled jalapeño cheddar sausage recipe. Learn how to achieve the perfect sear and juicy interior using your Arteflame grill for...