
Best Grilled Vegetables: Charred & Crispy Guide | Arteflame
Learn the best veggies for grilling—plus times, temps, and pro tips—optimized for Arteflame heat zones for perfect char and flavor every time.

 4.9
4.9

There is nothing quite like the primal aroma of wood smoke mixing with savory spices on a warm summer evening. This Texas Beer Can Chicken is the ultimate backyard showstopper, boasting skin so crispy it crackles and meat that practically melts off the bone. It is not just dinner; it is a reason to gather around the fire and crack open a cold one. Whether you are firing up the grill for a lively barbecue or a cozy Sunday supper, this dish sets the perfect mood.
I adore this method because it solves the age-old problem of dry roasted chicken. By perching the bird on a steaming can of lager, you infuse the cavity with moisture while the high heat of the Arteflame grill renders the fat perfectly. The spicy, smoky Texas rub balances the richness, delivering a flavor profile that is bold, tangy, and deeply satisfying. It is a foolproof technique that yields gourmet results with minimal fuss.
Not a beer drinker? Swap the lager for apple cider or a classic cola for a sweeter, non-alcoholic twist. If you prefer a milder heat, simply reduce the cayenne pepper in the rub to suit your family's taste.
Achieving the perfect roast requires a bit of patience and attention to detail. The most crucial tip for this recipe is to ensure your chicken is stable; if it feels wobbly on the can, form a tripod using the chicken's legs and the can to keep it upright on the grill grate. Stability prevents mishaps and ensures even cooking. Don't skip the resting period—cutting into the bird immediately will cause all those delicious, beer-infused juices to run out, leaving you with dry meat. Let those flavors settle for the best result.
Also, feel free to experiment with the liquid inside the can. While beer is traditional, it isn't the only option. Using apple cider, cola, or even chicken stock can add a unique sweetness and acidity that pairs beautifully with the smoke. Finally, always maintain your fire; keep a few logs handy to feed the flame if the temperature drops, but avoid massive flare-ups that could char the skin before the meat is cooked through.
While the Texas-style rub offers a savory and spicy kick, the beer can cooking method is incredibly versatile. You can easily adapt the flavor profile to match your mood or the rest of your menu. The steam infusion works with various liquids and seasoning blends, allowing you to travel the culinary world from your backyard grill. Here are a few favorite twists on the classic recipe:
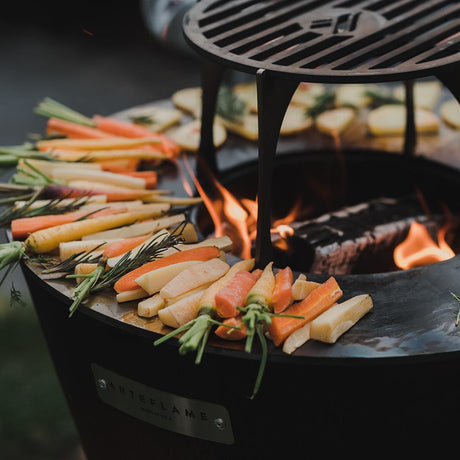
A main dish this bold deserves sides that can hold their own without overshadowing the star of the show. Since you already have the Arteflame fired up, it makes perfect sense to utilize the flat cooktop for your accompaniments. Grilled vegetables are a natural choice, absorbing the smoky aroma while charring beautifully on the plancha surface. The contrast between the rich, spicy chicken and fresh sides creates a balanced meal.
Mastering the Texas Beer Can Chicken on your Arteflame grill adds a show-stopping recipe to your culinary repertoire. It is the perfect blend of fun presentation and serious flavor, proving that outdoor cooking doesn't have to be complicated to be gourmet. The combination of the steam from the beer and the searing heat of the wood fire creates a texture that oven roasting simply cannot replicate. You get the best of both worlds: moist, tender meat and crispy, flavorful skin.
We hope this guide inspires you to gather friends, crack open a cold one, and enjoy the art of live-fire cooking. There is a unique joy in slowing down and tending to a meal over an open flame. Once you taste the difference this method makes, you may never roast a chicken any other way again. Enjoy the process and the delicious results!

Experience the Arteflame difference — 1,000°F searing, multiple heat zones, and true wood-fired flavor in one striking grill. Cook everything at once with total temperature control and enjoy a more intentional, elevated outdoor cooking experience. Discover why an Arteflame isn’t just a grill — it transforms the way you cook.
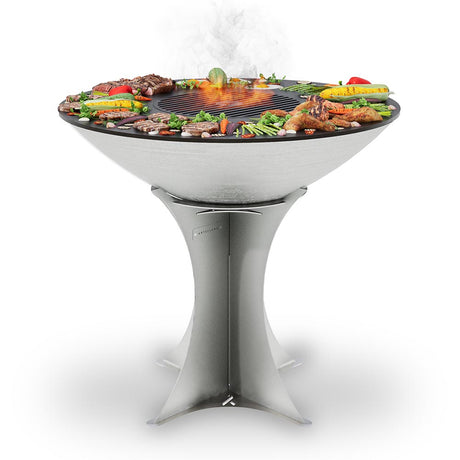

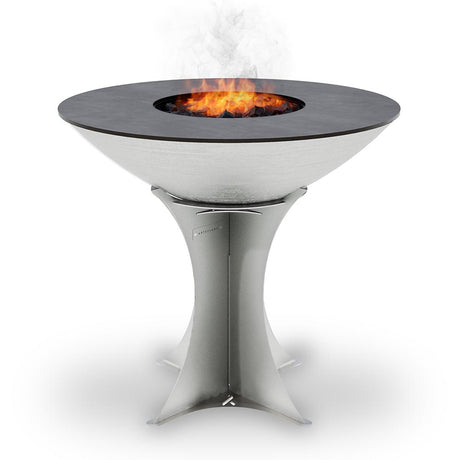


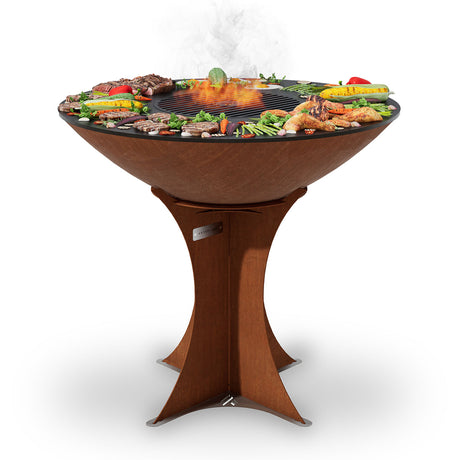
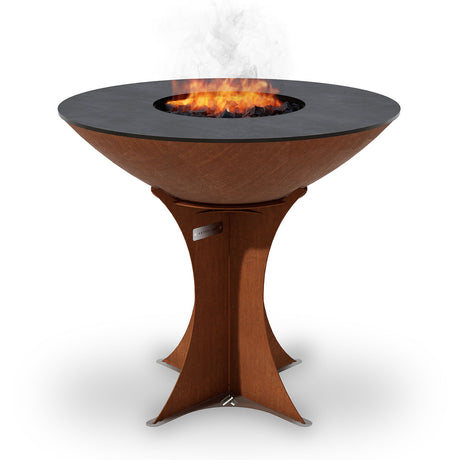


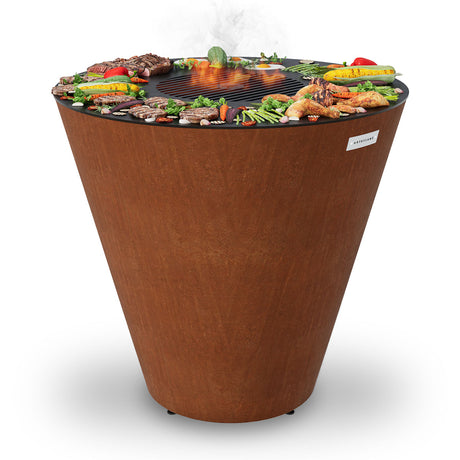


Arteflame One Series 40″ — XXL Flat-Top Charcoal Grill & Fire Bowl (Single-Piece CORTEN Body)
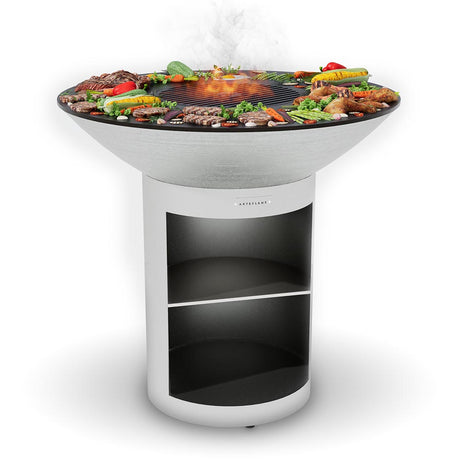
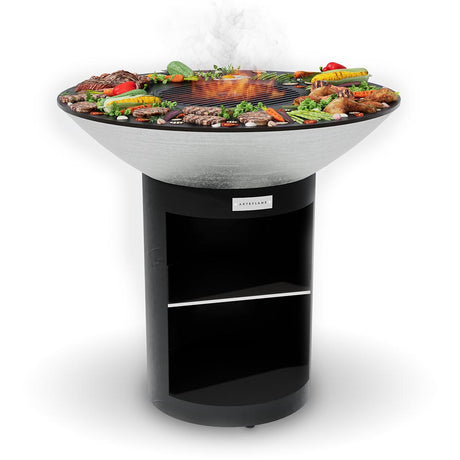
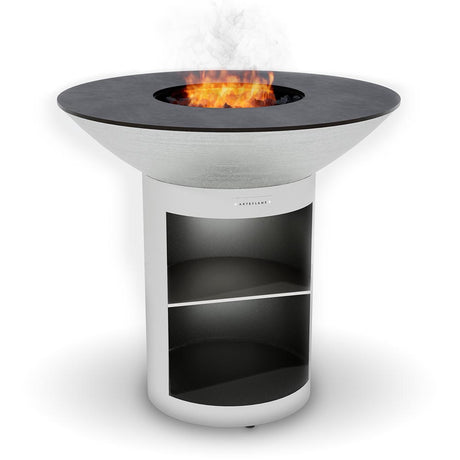


Arteflame 40″ Platinum Series — Stainless Fire Bowl Flat-Top Grill with Storage Base
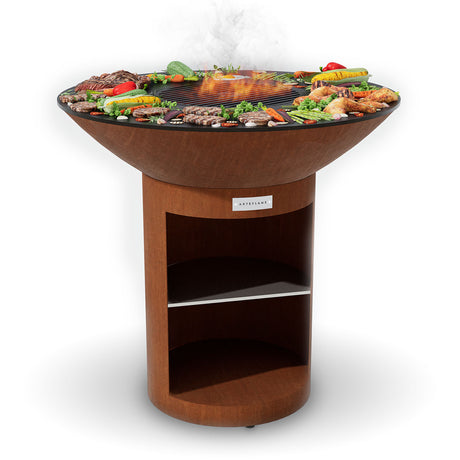
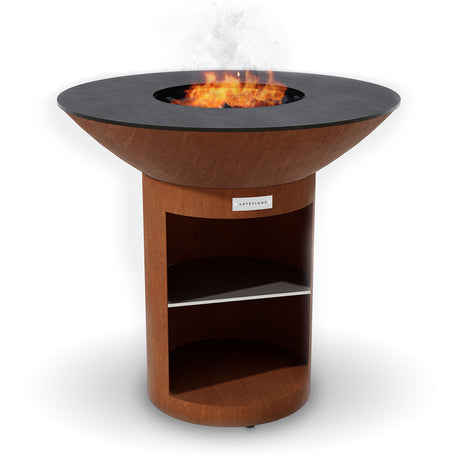
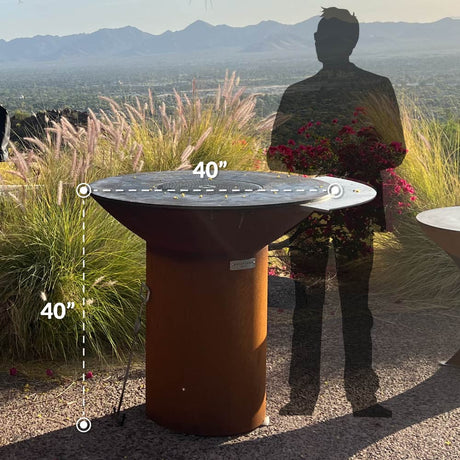
Arteflame Classic 40″ — Storage Base Flat-Top Grill & Fire Bowl (CORTEN Steel)
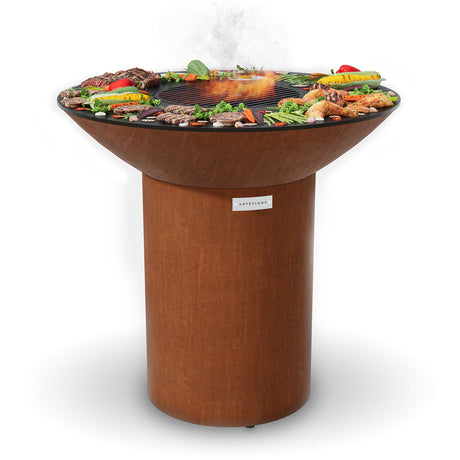
Arteflame Classic 40″ — Round Base Flat-Top Grill & Fire Bowl (CORTEN Steel)
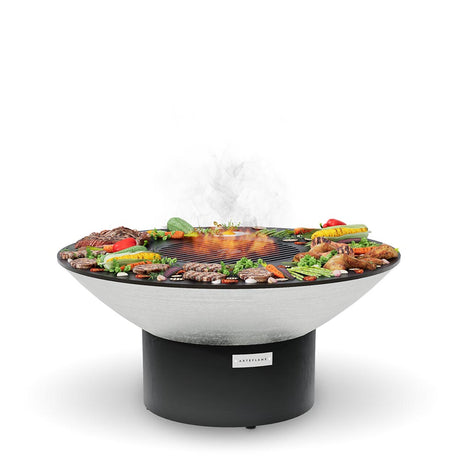
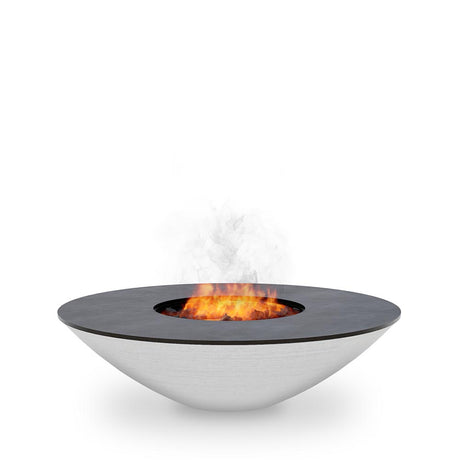
Learn the best veggies for grilling—plus times, temps, and pro tips—optimized for Arteflame heat zones for perfect char and flavor every time.

Transform classic apple pie into a handheld delight with these Wyoming Apple Cinnamon Grilled Dessert Wraps. perfectly crispy, caramelized, and cooked on the Arteflame grill for a smoky finish.

Experience the rustic taste of the West with this Wyoming Campfire Blueberry Cobbler recipe for the Arteflame grill. Featuring bubbling blueberries and a golden biscuit crust cooked in cast iron,...

Experience the rugged flavor of the American West with these Wyoming Wild Boar Chops. Seared to perfection on the Arteflame grill, this recipe uses a savory juniper and sage rub...

Elevate your BBQ with these Wyoming-style grilled carrots. Sweet honey, tangy balsamic, and a perfect char make this the ultimate side dish for your Arteflame grill. Easy, healthy, and packed...

Unleash the flavor of the American West with these tender Wyoming Teriyaki Bison Skewers. Featuring a homemade savory-sweet glaze and perfectly charred vegetables, this recipe maximizes the searing power of...

Unlock the savory flavors of the West with this Wyoming-style garlic parmesan grilled mushrooms recipe. Perfectly seared on the Arteflame flat top, these buttery, cheesy mushrooms make the ultimate side...

Unlock the bold flavors of the West with this Wyoming-style grilled jalapeño cheddar sausage recipe. Learn how to achieve the perfect sear and juicy interior using your Arteflame grill for...