Best Grilled Vegetables: Charred & Crispy Guide | Arteflame
Learn the best veggies for grilling—plus times, temps, and pro tips—optimized for Arteflame heat zones for perfect char and flavor every time.
 4.9
4.9
Imagine the sound of thin beef slices sizzling on a hot grill, instantly caramelized by a glossy, aromatic glaze. That is the magic of Yakiniku sauce. This Japanese barbecue staple is a masterclass in balance—rich umami, a hint of fruitiness from fresh pear, and the nutty warmth of toasted sesame. It is the kind of sauce that instantly transports you to a lively izakaya, turning a simple weeknight stir-fry or weekend grill session into a sensory celebration. Whether you are firing up the barbecue or just looking for a way to wake up a bowl of rice, this sauce delivers big, bold flavors.
What makes this recipe a permanent fixture in my kitchen is its incredible versatility and depth. Unlike one-note store-bought bottles, this homemade version sings with fresh aromatics and lacks preservatives. It comes together in minutes using standard pantry staples, yet tastes complex enough to impress guests. Whether used as a marinade for short ribs or a dipping sauce for grilled veggies, it strikes that crave-worthy sweet and salty balance every single time.
If you don't have sake on hand, you can substitute it with dry sherry or simply increase the water or broth slightly. For a gluten-free version, easily swap the standard soy sauce for Tamari or coconut aminos without losing that signature savory punch.
Creating the perfect authentic Yakiniku sauce is less about culinary technique and more about patience and flavor balance. The most crucial tip for this recipe is to allow the sauce to rest. While it is tempting to use it straight off the stove, the flavors of the garlic, ginger, and sesame oil meld together significantly as the sauce cools. If you are preparing for a barbecue party, try making this the night before; the difference in depth is remarkable. Additionally, pay attention to the viscosity. This is naturally a thinner, dipping-style sauce (Tare). If you prefer a thicker, American-style glaze for brushing onto burgers or ribs, you can let it simmer for an extra 5 minutes to reduce, or add a tiny cornstarch slurry. Store your finished sauce in a sterilized airtight jar in the refrigerator, where it will stay fresh and potent for up to two weeks.
One of the joys of Japanese home cooking is customizing the "Tare" (sauce) to suit your palate or the specific cut of meat you are grilling. You can easily tweak the base recipe to create a variety of flavor profiles. For a spicy kick that cuts through fatty cuts like pork belly, stir in a teaspoon of Gochujang (Korean chili paste) or Ichimi Togarashi (Japanese chili powder). If you prefer a brighter, citrus-forward sauce for seafood or chicken, add a splash of Yuzu juice or fresh lemon zest at the very end. For a creamier, nuttier version often found in specialized dipping restaurants, whisk in a tablespoon of white Miso paste or ground sesame paste (Nerigoma).
This Yakiniku sauce is the ultimate companion for open-fire cooking and high-heat grilling. Its primary partner is, of course, thinly sliced beef—think short ribs (Kalbi), ribeye, or skirt steak—where the sugars in the sauce char beautifully against the hot metal of the grill. However, its utility extends far beyond beef. It creates a mouthwatering glaze for yakitori (grilled chicken skewers) and works wonders on fatty pork belly slices. For vegetarians, this sauce transforms grilled king oyster mushrooms, eggplant, and bell peppers into savory powerhouses. It is also exceptional as a finishing sauce over a steaming bowl of white rice or as a seasoning for fried rice (Yakimeshi).
Mastering this homemade Yakiniku sauce is a simple upgrade that pays massive dividends in flavor. It captures the essence of Japanese barbecue—fresh ingredients, savory depth, and communal dining—right in your own backyard. By moving away from preservative-heavy store-bought bottles, you gain control over the sweetness and spice, ensuring every bite is perfectly tailored to your taste. Whether you are hosting a summer cookout on the Arteflame or just wanting to elevate a midweek beef bowl, this sauce is your ticket to an authentic, umami-packed dining experience. Give it a try, and you will likely never go back to the bottled version again.

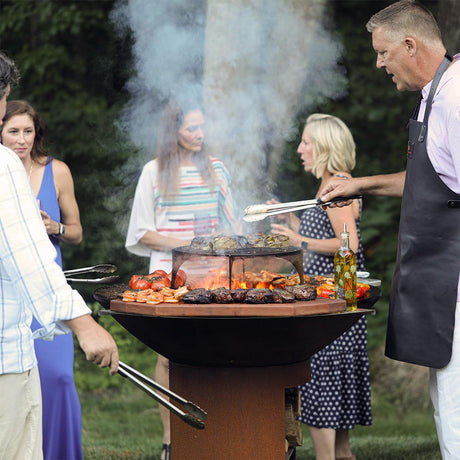
Experience the difference — sear at 1,000°F, enjoy multiple heat zones, and cook with natural wood-fired flavor on one beautiful grill. Prepare everything at once, manage temperatures with ease, and elevate every outdoor gathering. Discover why an Arteflame transforms the entire grilling experience.


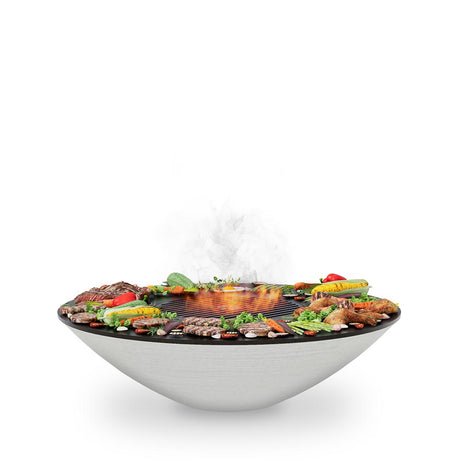
Arteflame One Series 40″ — XXL Flat-Top Charcoal Grill & Fire Bowl (Single-Piece CORTEN Body)
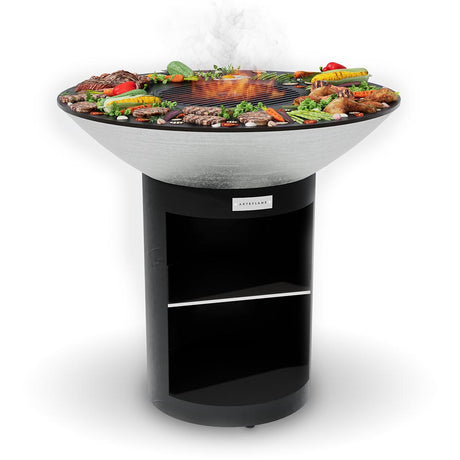
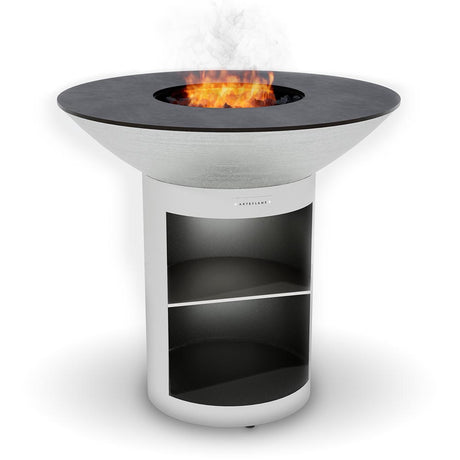


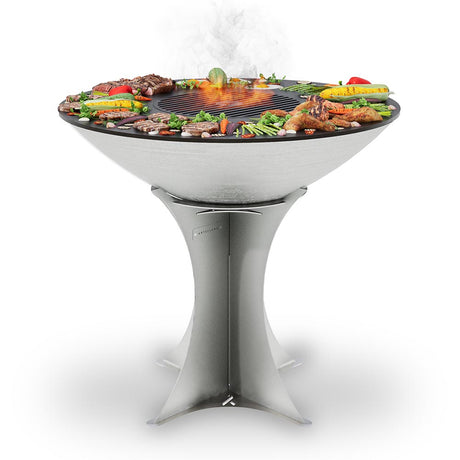
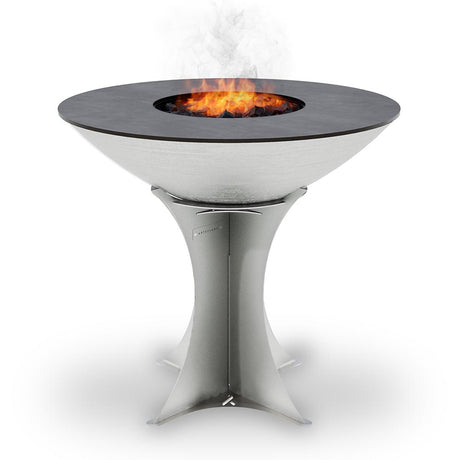
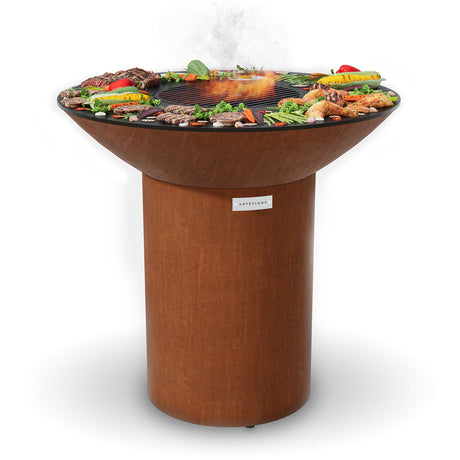
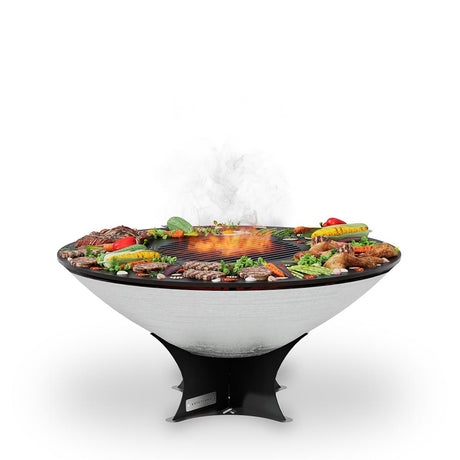
Arteflame 40″ Platinum Series — Stainless Fire Bowl Flat-Top Grill with Storage Base
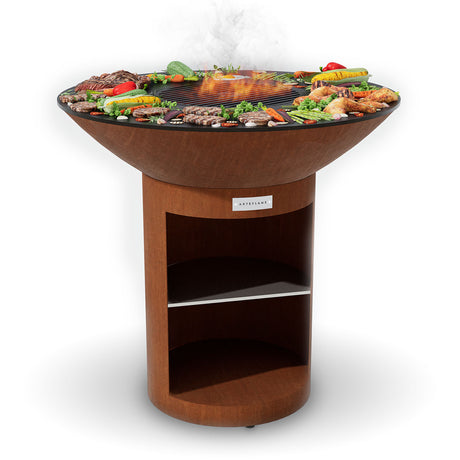
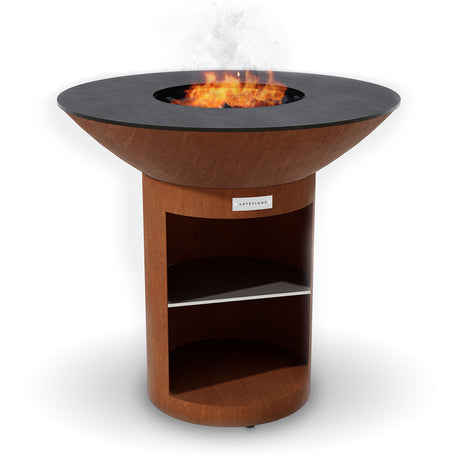


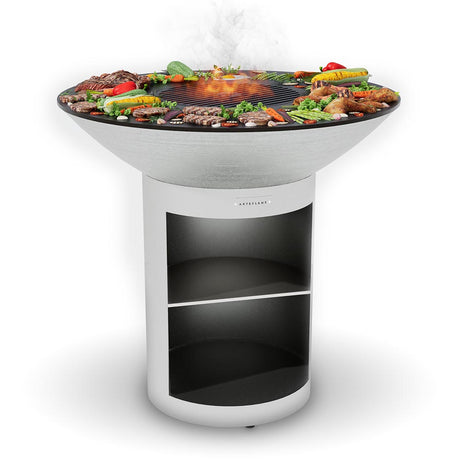
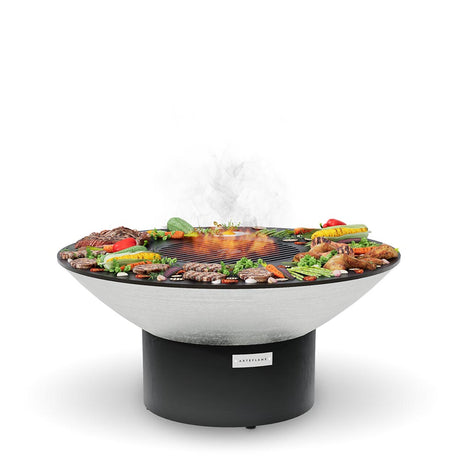
Arteflame Classic 40″ — Storage Base Flat-Top Grill & Fire Bowl (CORTEN Steel)
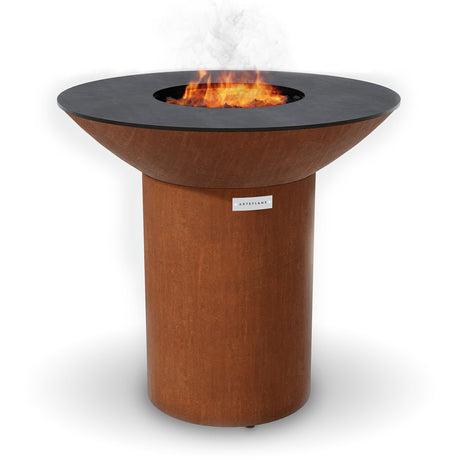
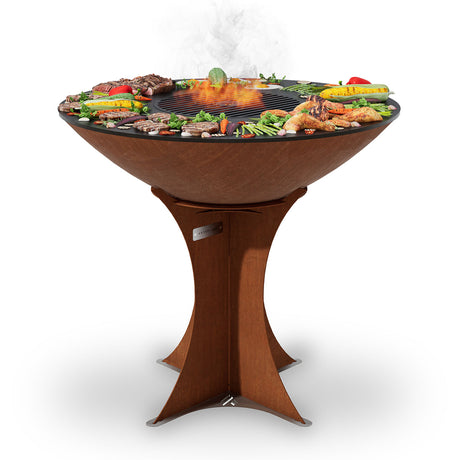
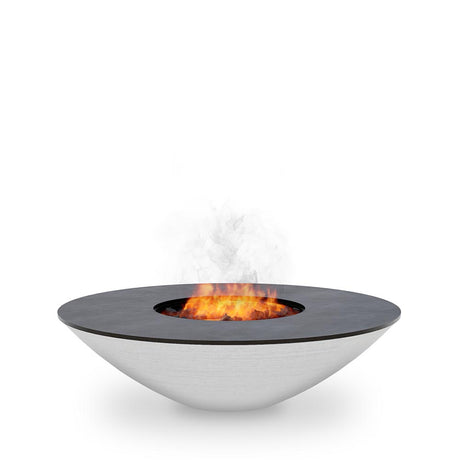
Arteflame Classic 40″ — Round Base Flat-Top Grill & Fire Bowl (CORTEN Steel)
Learn the best veggies for grilling—plus times, temps, and pro tips—optimized for Arteflame heat zones for perfect char and flavor every time.
Transform classic apple pie into a handheld delight with these Wyoming Apple Cinnamon Grilled Dessert Wraps. perfectly crispy, caramelized, and cooked on the Arteflame grill for a smoky finish.
Experience the rustic taste of the West with this Wyoming Campfire Blueberry Cobbler recipe for the Arteflame grill. Featuring bubbling blueberries and a golden biscuit crust cooked in cast iron,...
Experience the rugged flavor of the American West with these Wyoming Wild Boar Chops. Seared to perfection on the Arteflame grill, this recipe uses a savory juniper and sage rub...
Elevate your BBQ with these Wyoming-style grilled carrots. Sweet honey, tangy balsamic, and a perfect char make this the ultimate side dish for your Arteflame grill. Easy, healthy, and packed...
Unleash the flavor of the American West with these tender Wyoming Teriyaki Bison Skewers. Featuring a homemade savory-sweet glaze and perfectly charred vegetables, this recipe maximizes the searing power of...
Unlock the savory flavors of the West with this Wyoming-style garlic parmesan grilled mushrooms recipe. Perfectly seared on the Arteflame flat top, these buttery, cheesy mushrooms make the ultimate side...
Unlock the bold flavors of the West with this Wyoming-style grilled jalapeño cheddar sausage recipe. Learn how to achieve the perfect sear and juicy interior using your Arteflame grill for...