Grilled Ohio Corn with Amish Butter
Grill fresh Ohio corn with rich Amish butter using the Arteflame grill for unbeatable smoky flavor. Perfect side dish cooked entirely on the flat top griddle.

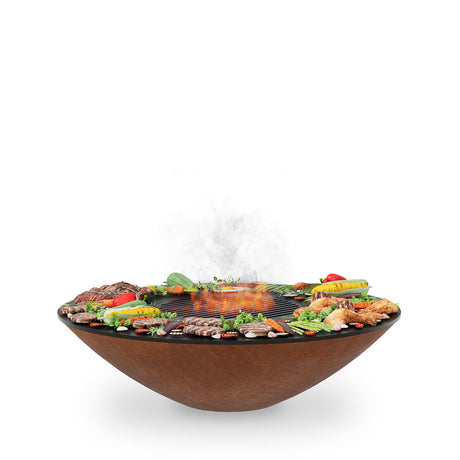
Few dishes rival the warmth and flavor of authentic New Mexico tamales. When grilled over the Arteflame, tamales take on a slightly crispy texture while locking in the juicy, bold flavors of the Southwest. This twist on the traditional steaming method gives you a slight char and smoky flavor that's absolutely mouthwatering. Get ready to use your Arteflame to make one of the most flavorful tamale recipes you’ve ever tasted.
Grilling tamales on the Arteflame adds smoky depth and irresistible texture that can’t be achieved by steaming. Whether you're crafting traditional pork tamales or exploring sweet variations, trust the Arteflame to give you maximum flavor without burning or drying out your food. Try it once, and you’ll never go back!
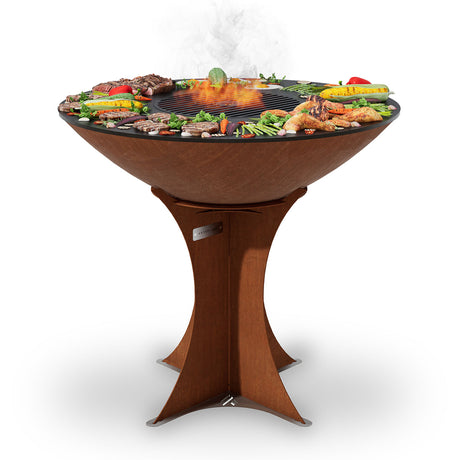
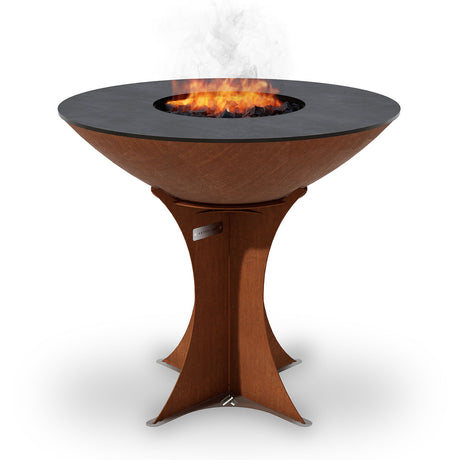

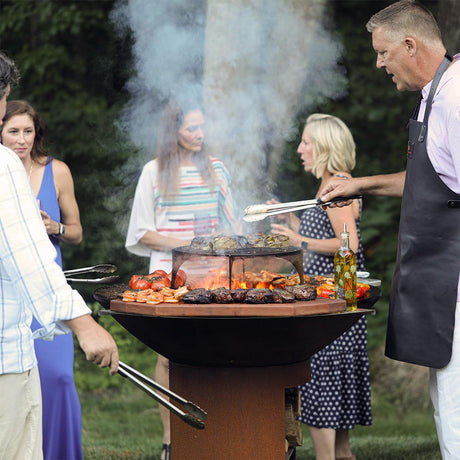

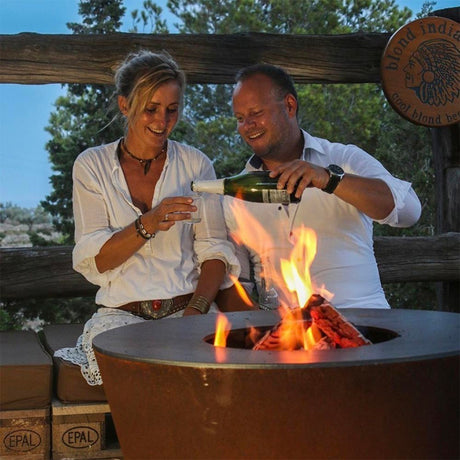
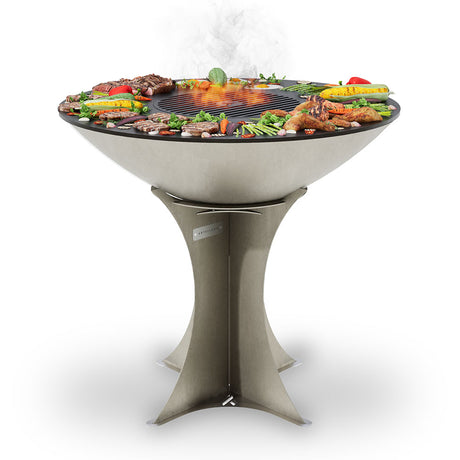
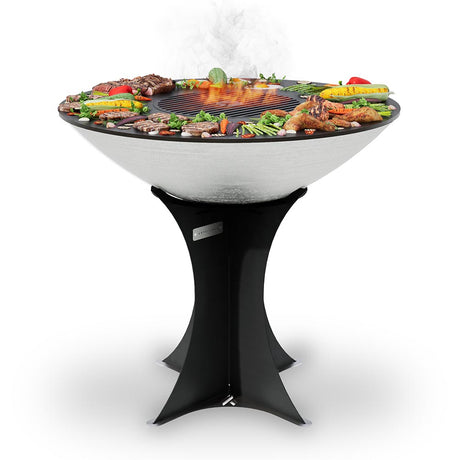
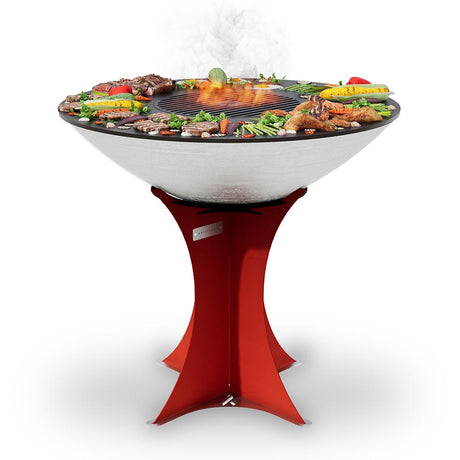
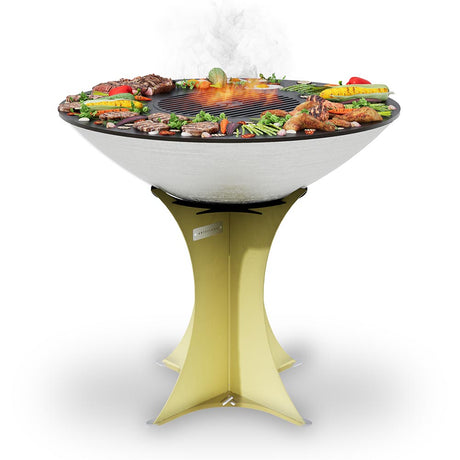


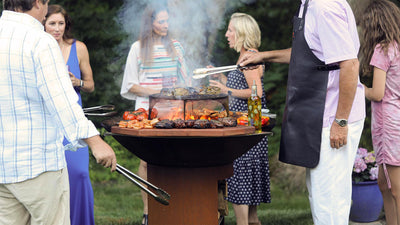
Gril à dessus plat Arteflame XXL 40" - Base européenne haute


Grill fresh Ohio corn with rich Amish butter using the Arteflame grill for unbeatable smoky flavor. Perfect side dish cooked entirely on the flat top griddle.

Juicy Ohio Maple-Glazed Chicken Thighs, reverse-seared to perfection on the Arteflame Grill. A sweet and savory grilled delight.

Grill the best Ohio-style Polish Boy with juicy kielbasa, crisp fries, and creamy slaw on your Arteflame grill. No pots, pans, or oven needed!
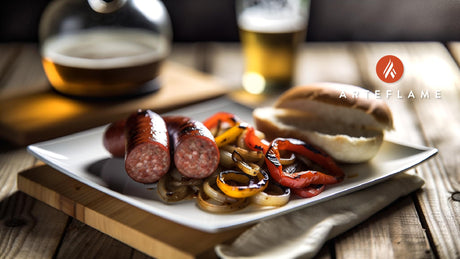
Smoky Ohio Kielbasa grilled to perfection on the Arteflame with onions, peppers, and a juicy reverse sear. Serve on a bun or plated. Easy and flavorful!

Grill fresh Ohio walleye on an Arteflame to perfection with lemon pepper seasoning and seared buttery flavor.
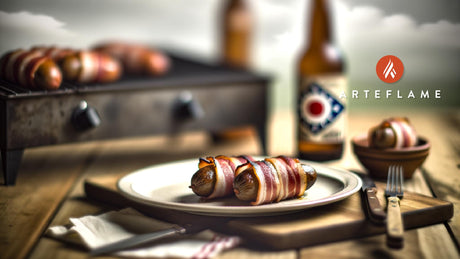
Grill these Ohio Buckeye Bacon-Wrapped Brats on the Arteflame for a crispy, juicy bite with classic Midwest flavor. Perfect for tailgates and cookouts!

Make Ohio-style Cincinnati Chili Burgers on the Arteflame Grill using bold spices like cinnamon and allspice for an unforgettable grilled burger experience!

Ohio-style pulled pork done right—with Arteflame searing, juicy slow-cooked pork, and a tangy BBQ kick. No oven required. Real fire, real flavor.