Arteflame Rotisserie Chicken Recipe
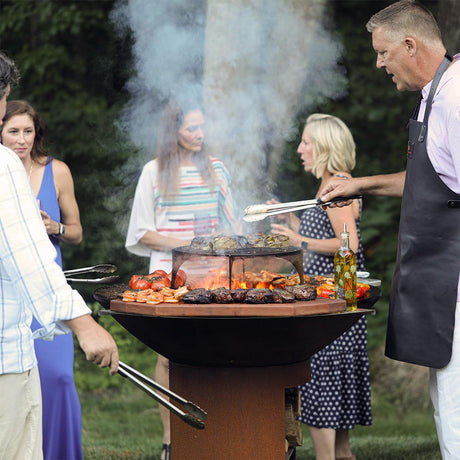
Cooking a rotisserie chicken on the Arteflame grill delivers juicy, tender meat with crispy, golden skin. The slow rotation of the chicken on the rotisserie ensures even cooking, while the Arteflame’s high heat adds a smoky, charred flavor that’s unbeatable.
Ingredients:
- 1 whole chicken (3-4 lbs) (You can fit 2 chickens on the rotisserie)
- 2 tbsp olive oil
- 4 garlic cloves, minced
- 1 tbsp fresh rosemary, chopped
- 1 tbsp fresh thyme, chopped
- 1 tbsp paprika
- 1 tsp ground black pepper
- 1 tbsp sea salt
- 1 lemon, quartered
- 1 small onion, quartered
For Basting:
- 2 tbsp melted butter
- 1 tbsp olive oil
- 1 tbsp fresh lemon juice
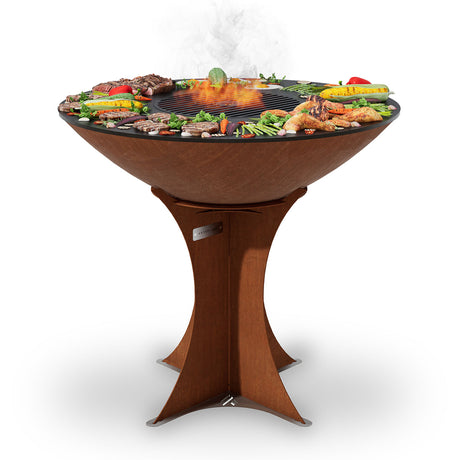
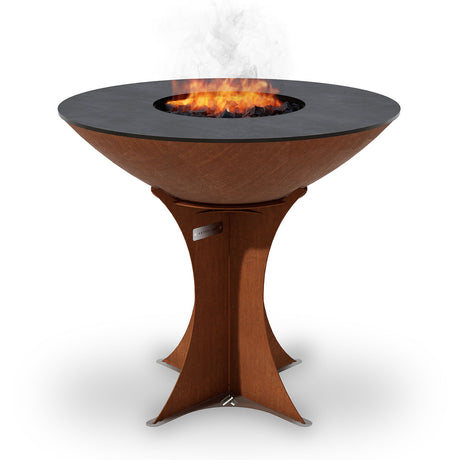
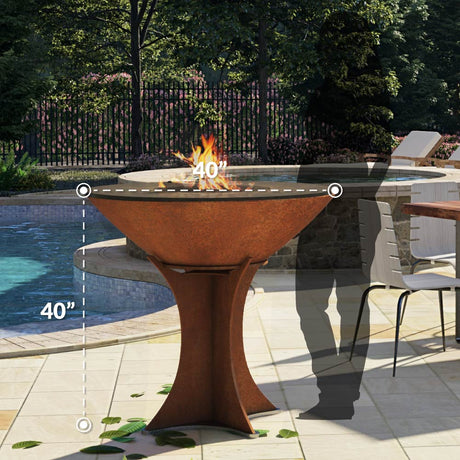
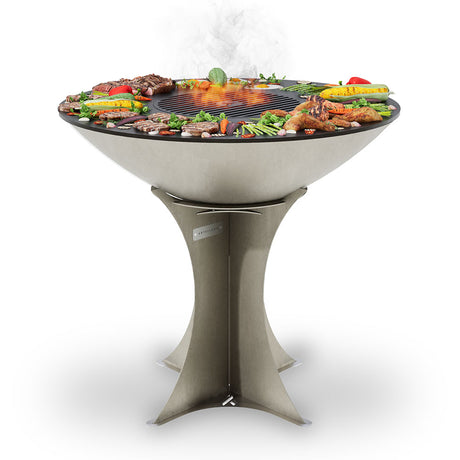
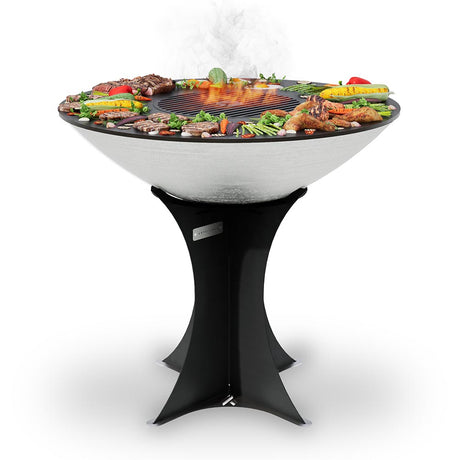
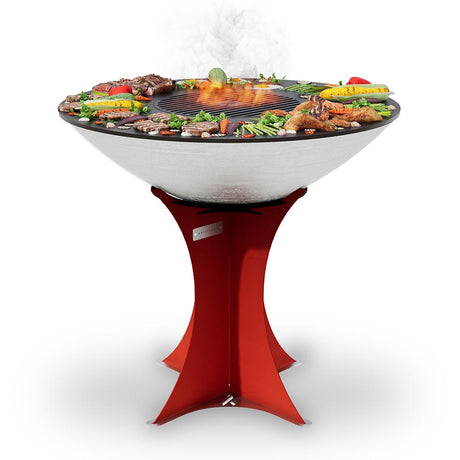
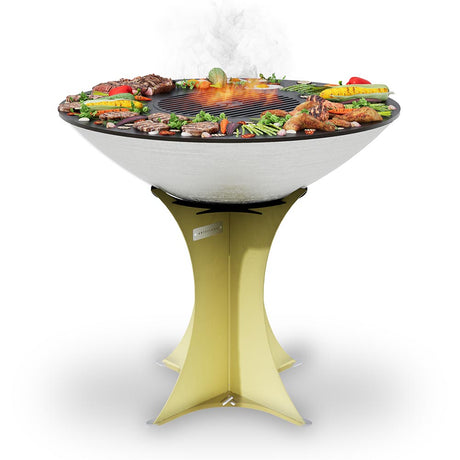
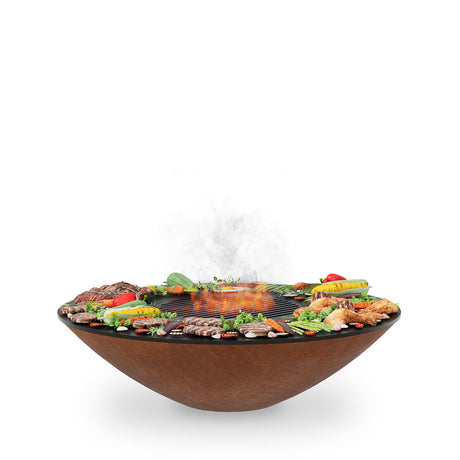
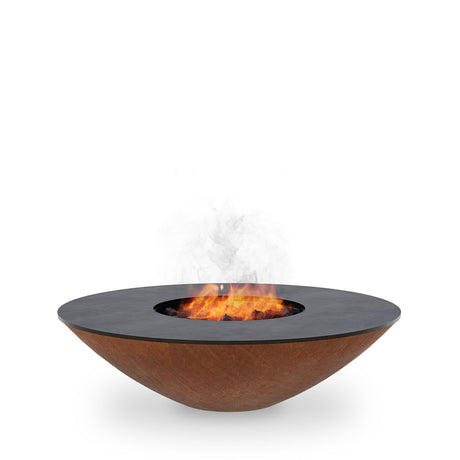
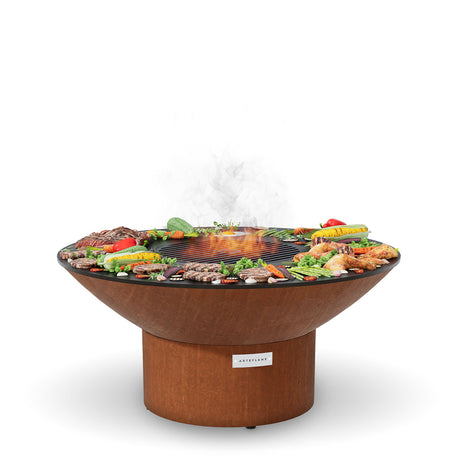
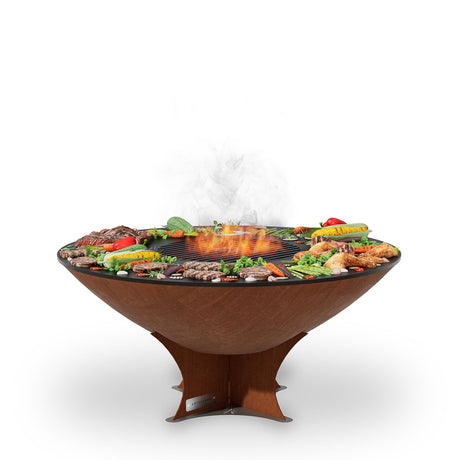
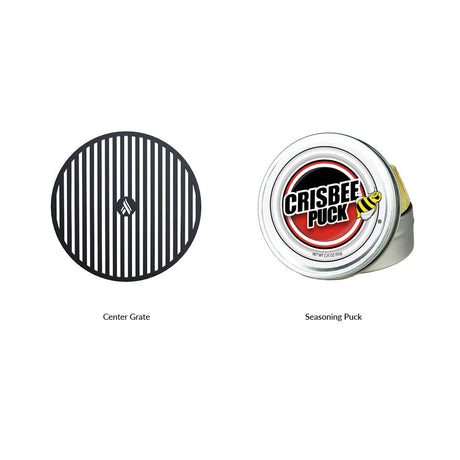
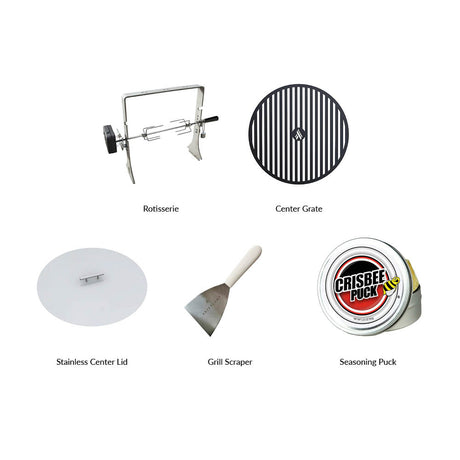
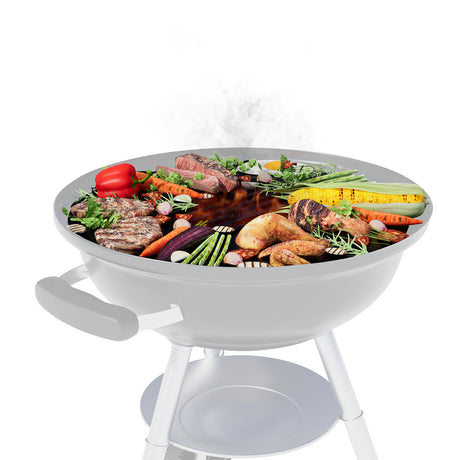
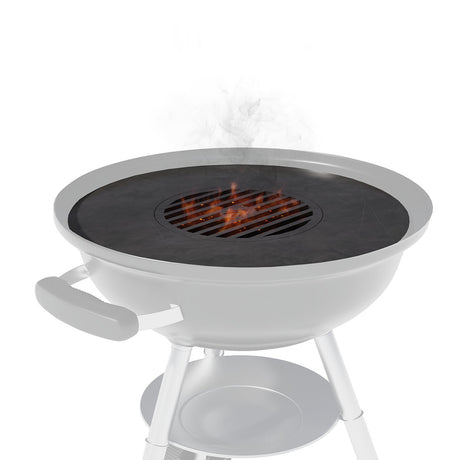
Grills used in this recipe
Order now for fast delivery
Arteflame Weber Griddle: Transform Your Weber Grill with the Ultimate Griddle Grill Combination
Instructions:
Step 1: Prepare the Chicken
Pat the chicken dry with paper towels, inside and out. Rub the chicken all over with olive oil, then season generously with garlic, rosemary, thyme, paprika, black pepper, and salt. Stuff the cavity of the chicken with lemon and onion quarters to add flavor and moisture during cooking.
Step 2: Truss and Skewer the Chicken
Truss the chicken by tying the legs together and tucking the wings under the body to ensure even cooking. Slide the rotisserie skewer through the center of the chicken and secure it tightly with the rotisserie forks on both ends to keep it stable while turning.
Step 3: Fire up the Arteflame Grill
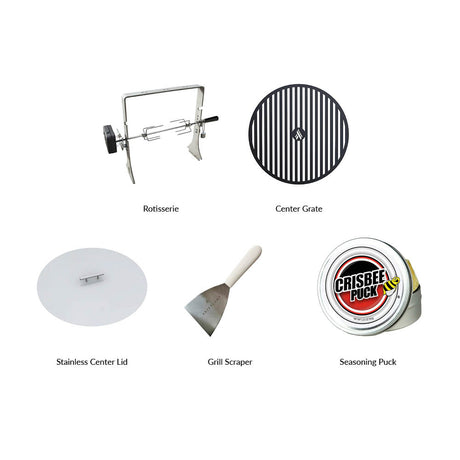
Light the Arteflame grill by placing vegetable oil-soaked napkins under stacked firewood. Allow the grill to heat for about 20-30 minutes. Attach the rotisserie to the Arteflame, ensuring the chicken is positioned over the indirect heat zone.
Step 4: Cook the Chicken
Start the rotisserie motor, and let the chicken slowly turn over the indirect heat for 1.5 to 2 hours, depending on the size of the bird. You want the internal temperature of the chicken to reach 165°F (75°C) in the thickest part of the thigh.
Step 5: Baste the Chicken
Every 30 minutes, baste the chicken with a mixture of melted butter, olive oil, and lemon juice. This will keep the skin crispy and flavorful.
Step 6: Rest and Serve
Once the chicken has reached the correct internal temperature, remove it from the rotisserie and let it rest for 10 minutes before carving. This allows the juices to redistribute, keeping the chicken tender and moist.
Grilling Tips:
- Truss the chicken: Tying the legs and wings ensures even cooking and prevents the wings from burning.
- Baste regularly: Basting with butter and lemon keeps the chicken flavorful and the skin crispy.
- Monitor internal temperature: Always check that the chicken has reached 165°F in the thickest part of the thigh before serving.
5 Flavor Variations for Rotisserie Chicken
- Lemon Herb Chicken: Add extra lemon zest and fresh parsley to the rub for a zesty, aromatic flavor.
- Spicy Rotisserie Chicken: Add 1 tsp cayenne pepper and smoked paprika for a spicy kick.
- BBQ Rotisserie Chicken: Baste the chicken with BBQ sauce during the last 20 minutes for a smoky, sweet flavor.
- Garlic Parmesan Chicken: Rub the chicken with a mixture of garlic, Parmesan cheese, and olive oil for a rich, savory flavor.
- Mediterranean Chicken: Season with cumin, coriander, and a splash of red wine vinegar for a Mediterranean twist.
Best Pairings for Rotisserie Chicken:
- Roasted Vegetables: Carrots, potatoes, and onions roasted alongside the chicken absorb the juices and flavor, making for a perfect side dish.
- Grilled Asparagus: Lightly charred asparagus adds a fresh, green crunch that complements the rich chicken.
- Garlic Mashed Potatoes: Creamy and buttery, mashed potatoes are a comforting side to balance the crispy skin and juicy chicken.
- Focaccia Bread: Warm, olive oil-infused focaccia is great for soaking up the chicken's juices.
- Green Salad: A light salad with arugula, cherry tomatoes, and a lemon vinaigrette adds a refreshing balance to the rich flavors.


